Hey I'm Chirayu! I am a Hardware Engineer with a passion for 3D Printing and Industrial Design

Solar Powered Air Quality Monitor

PlantPod

Z-Unlimited

Retro GCC Shell

Paintor X

One handed XBOX Controller

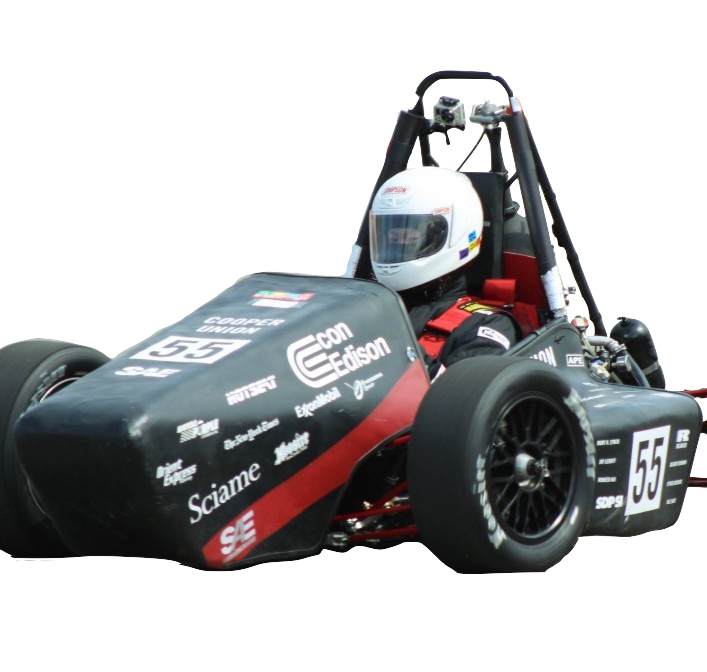
Carbon Fiber FSAE Nosecone Design

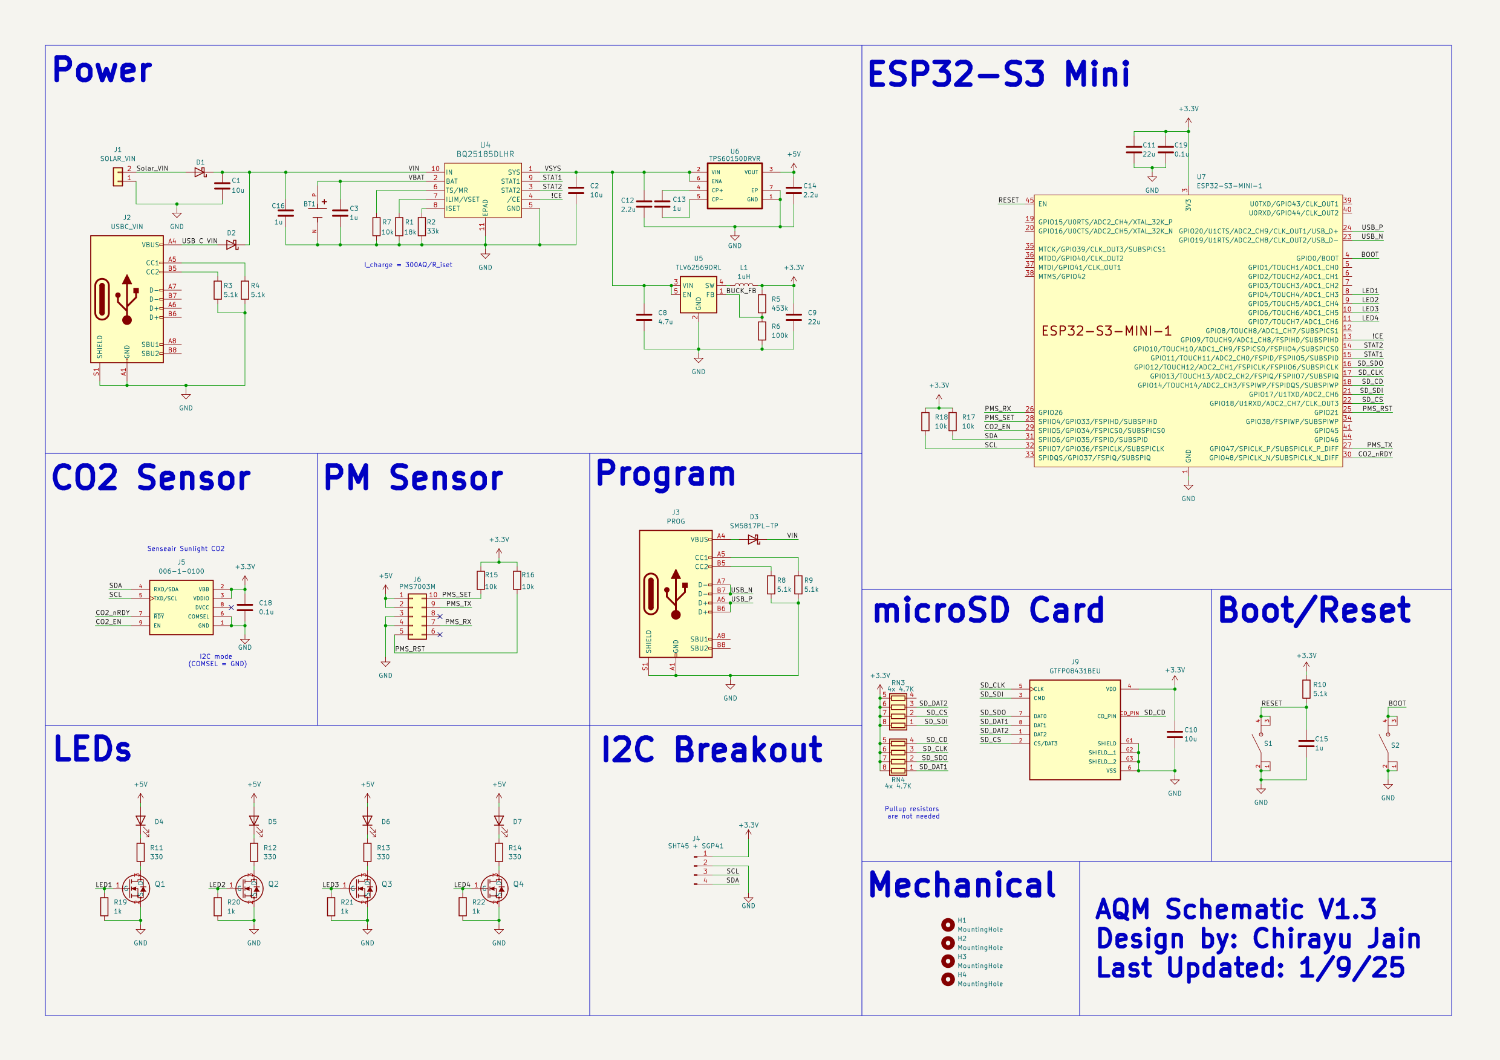
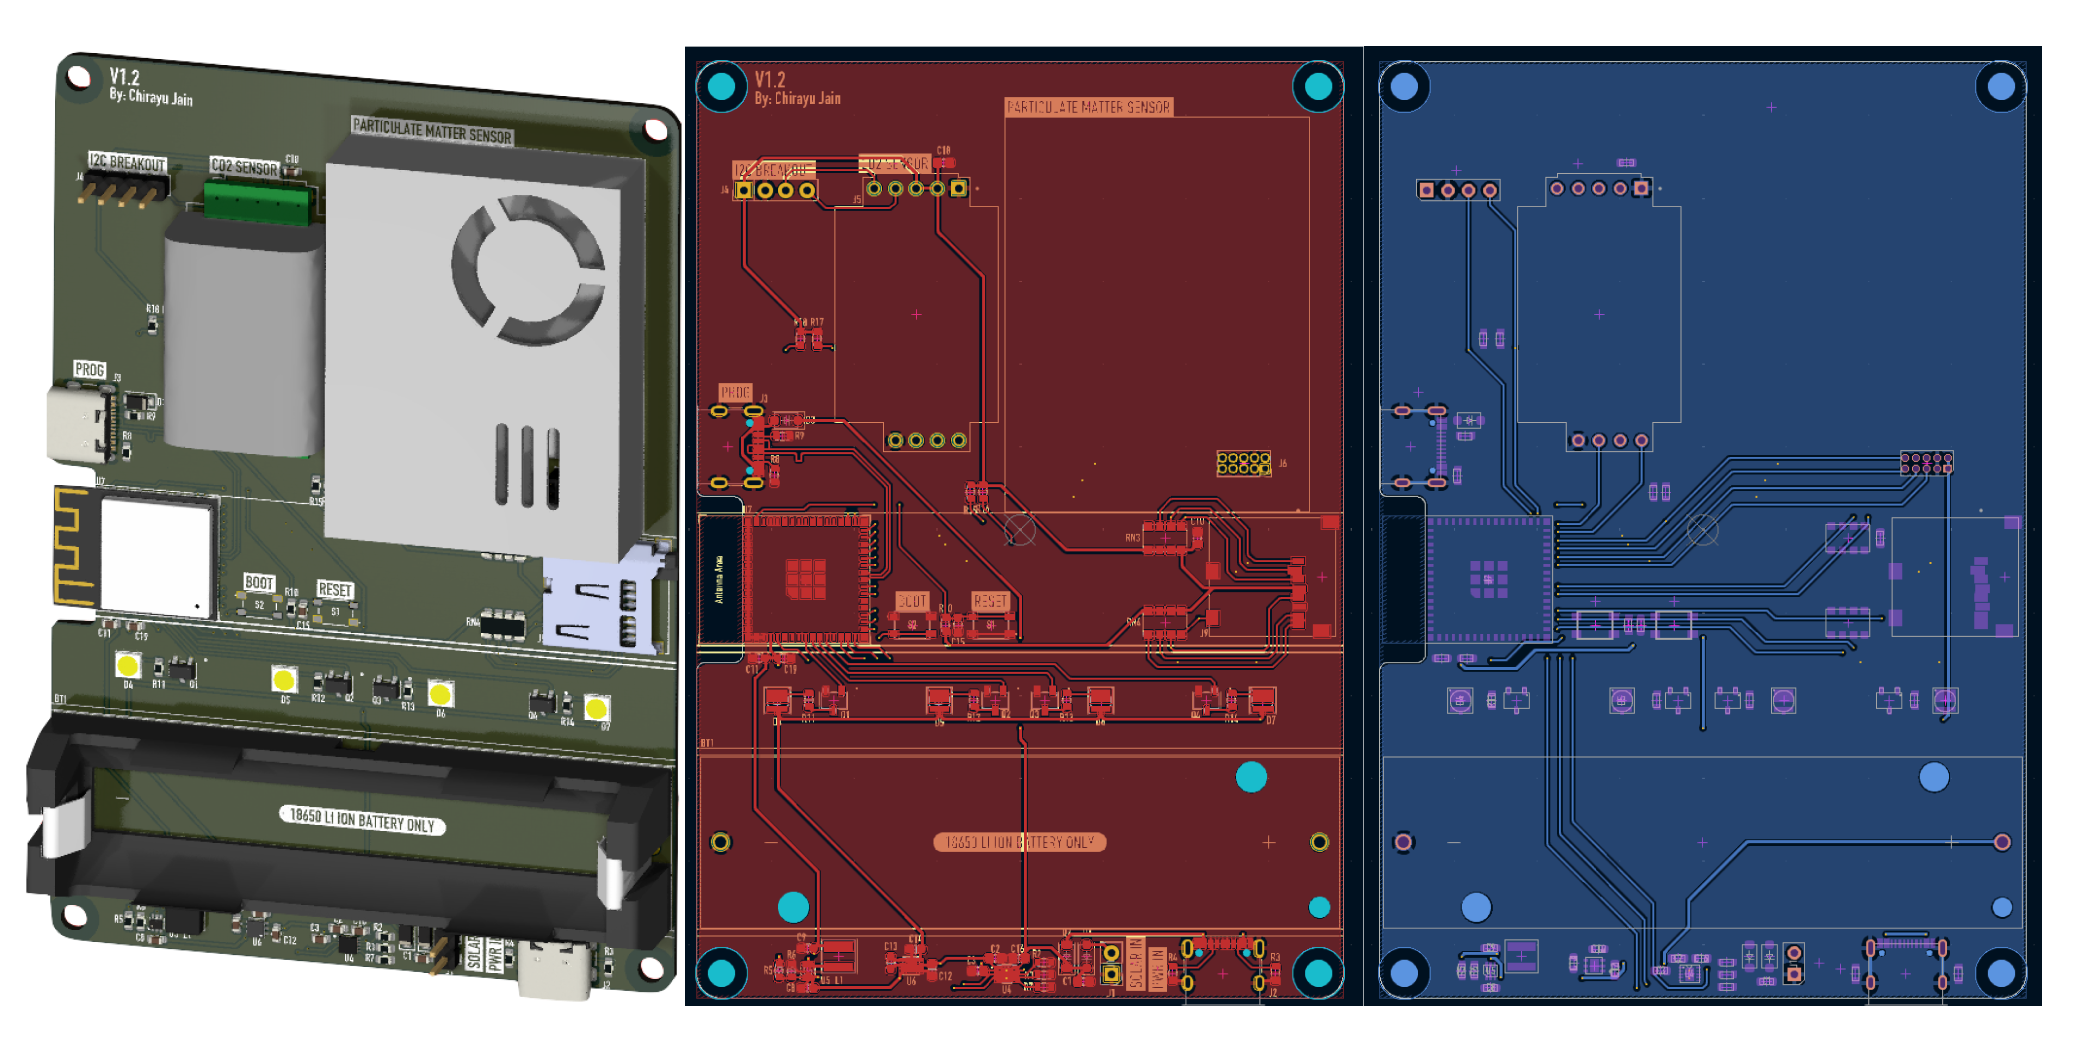
This is an Open Source Solar Powered Air Quality Monitor. It is designed to be mounted on the window of your home or office space. By using a particulate matter sensor, a CO2 sensor, a VOC/NOx gas sensor, and a temperature/Humidity sensor, you can get an accurate understanding of the air quality in your enclosed space.
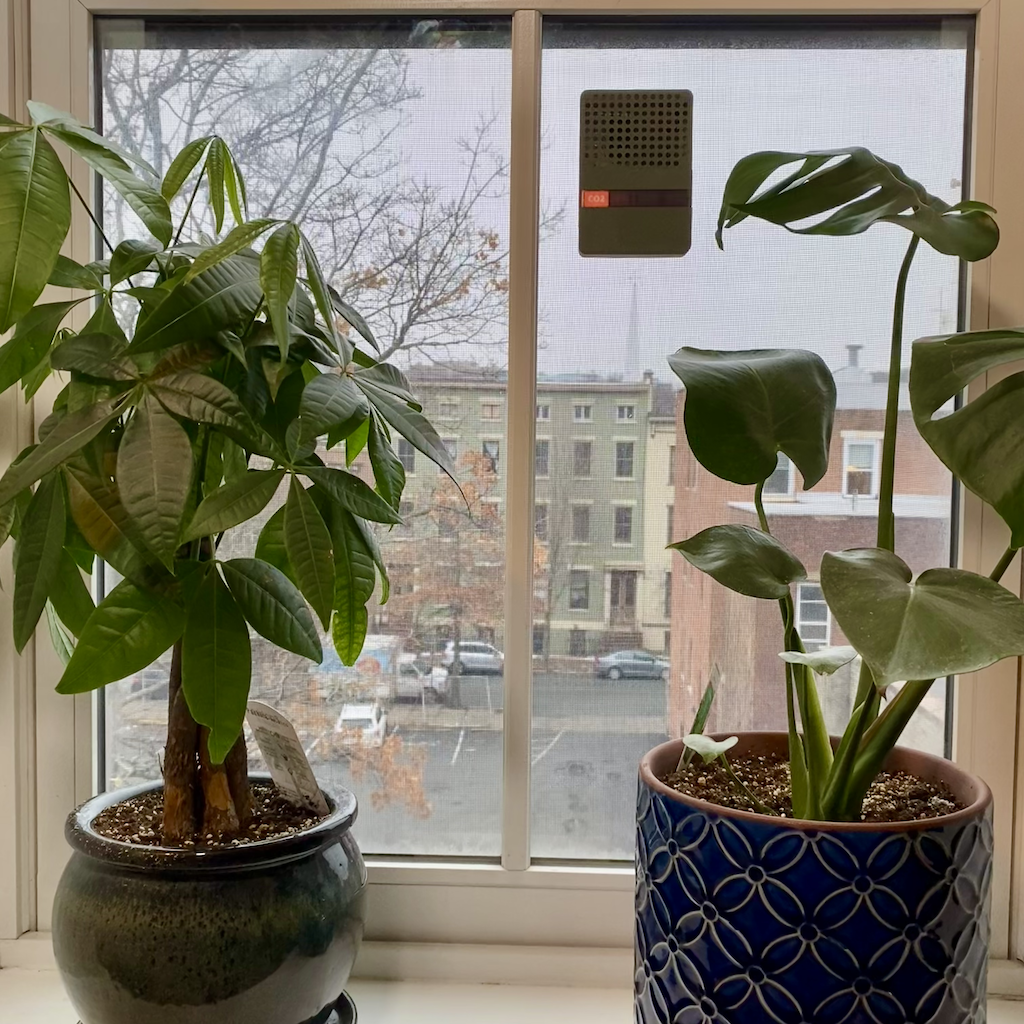
With a high efficiency solar panel and 1 LiPo cell, the AQM can charge up during the day, and run on battery power overnight ensuring 24/7 monitoring. If you want to use the AQM in an environment without direct sunlight, you can also power it using a standard USB-C cable. Historical data is stored locally to a uSD Card.
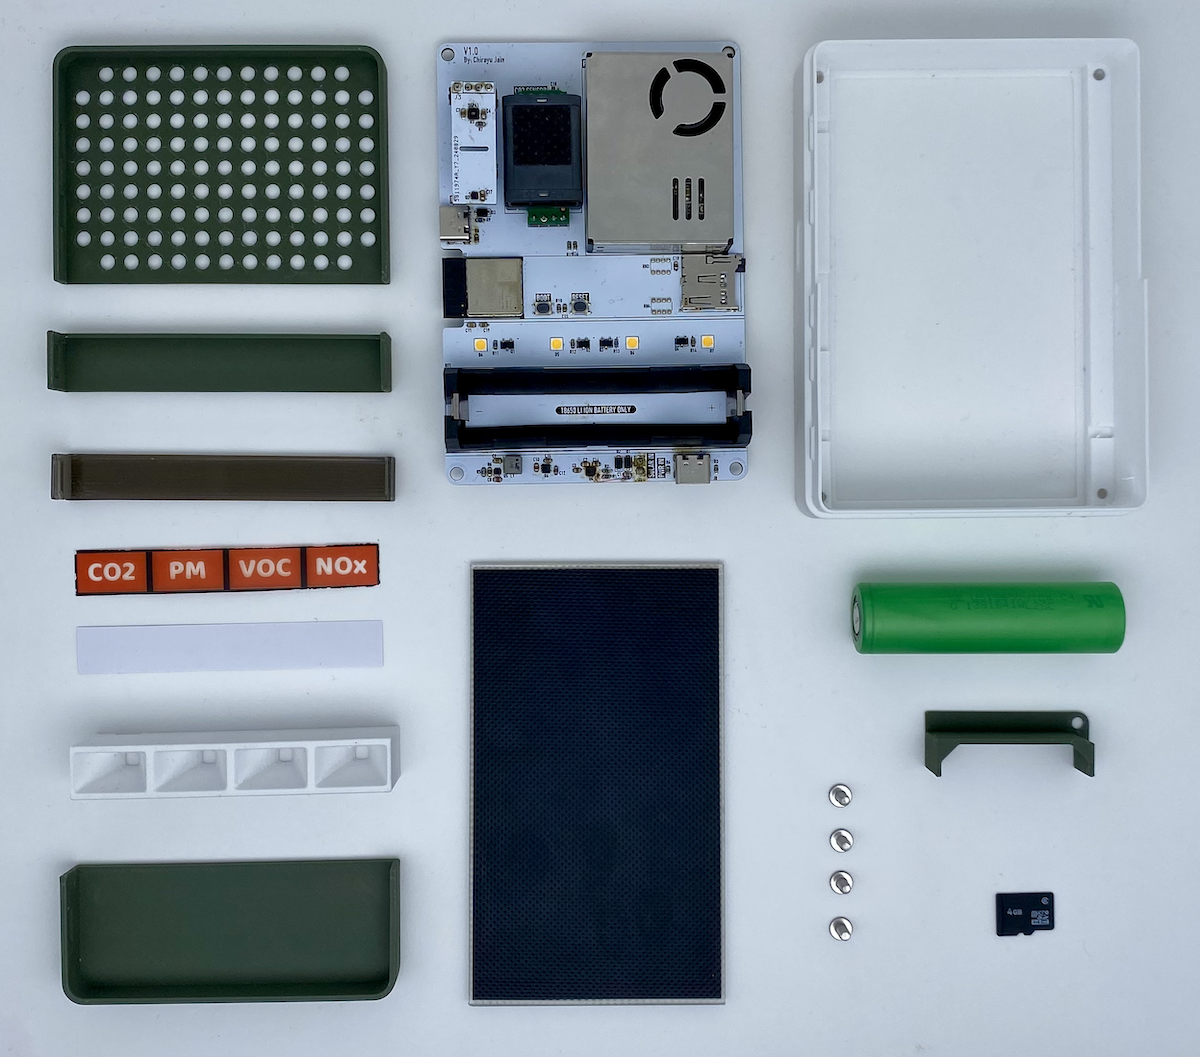
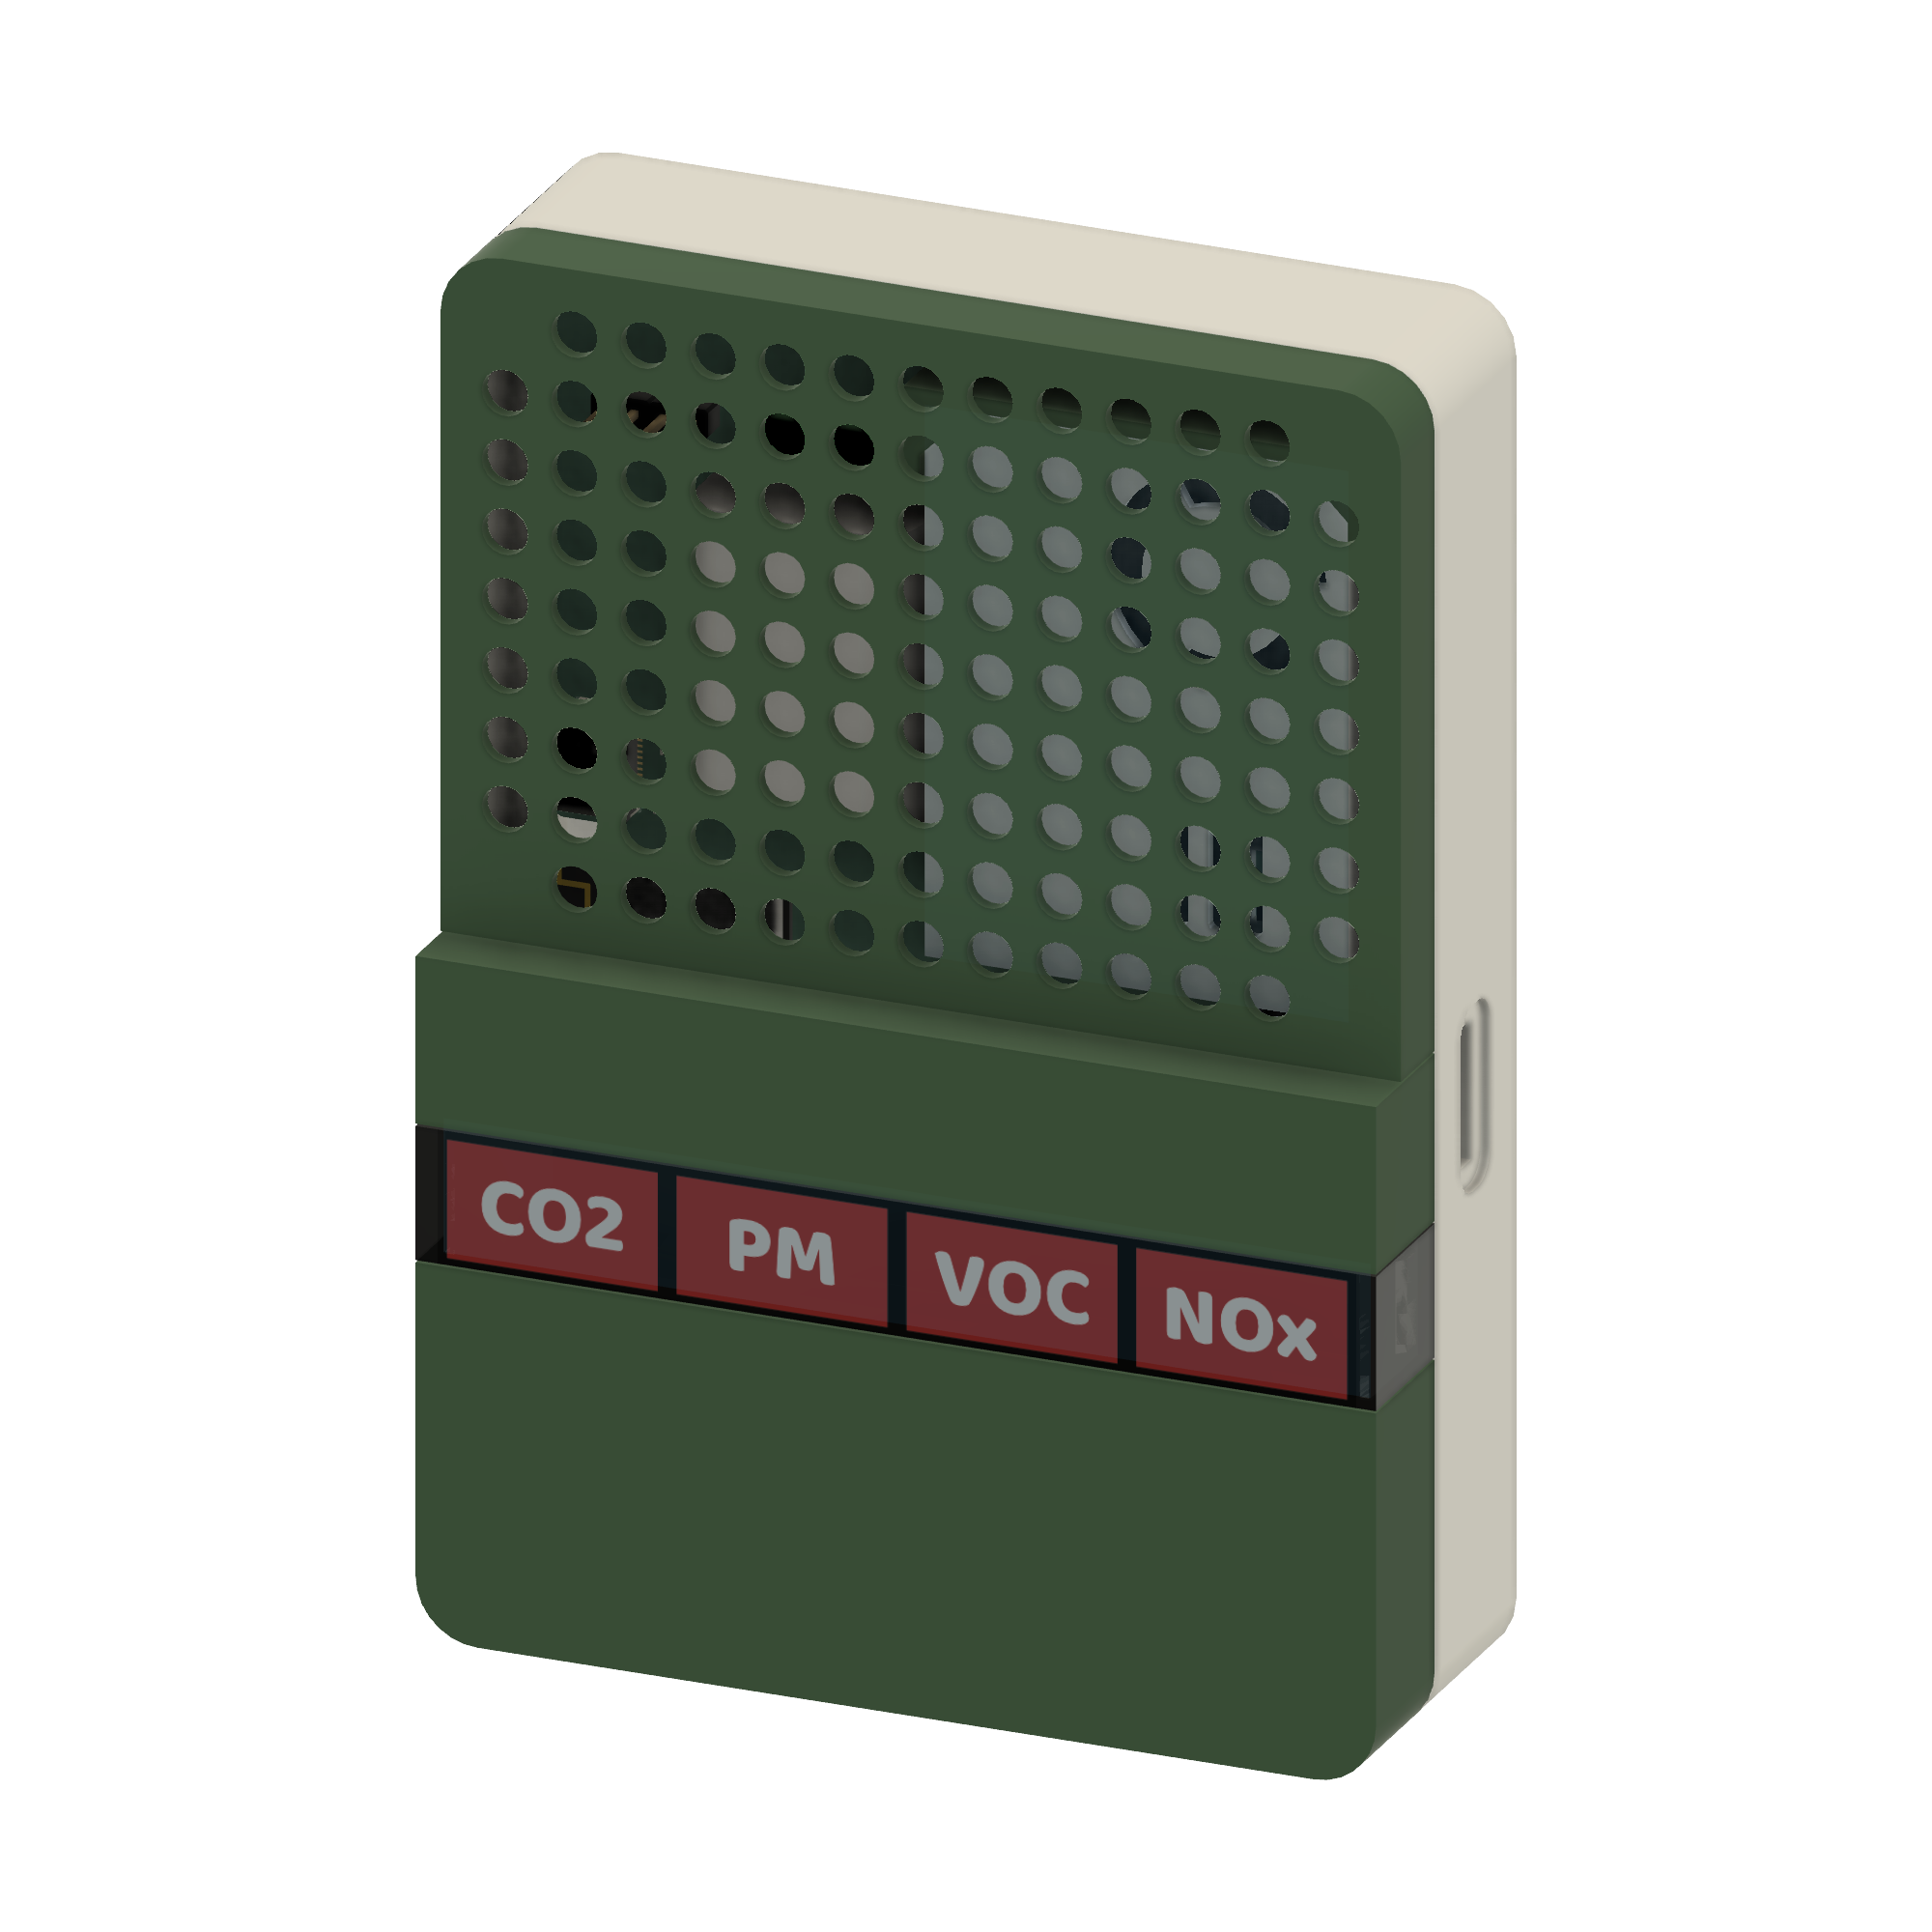
The entire body of the AQM is 3D printed in PETG. The front covers snap in place and can be printed in different colors to match your space.
I could have added a screen to this AQM that would display exact values from the sensors, but truthfully I did not want another screen begging for my attention in my own home. The primary function of this AQM is to tell me when to open the windows in my room. I only need an LED indicator for that.
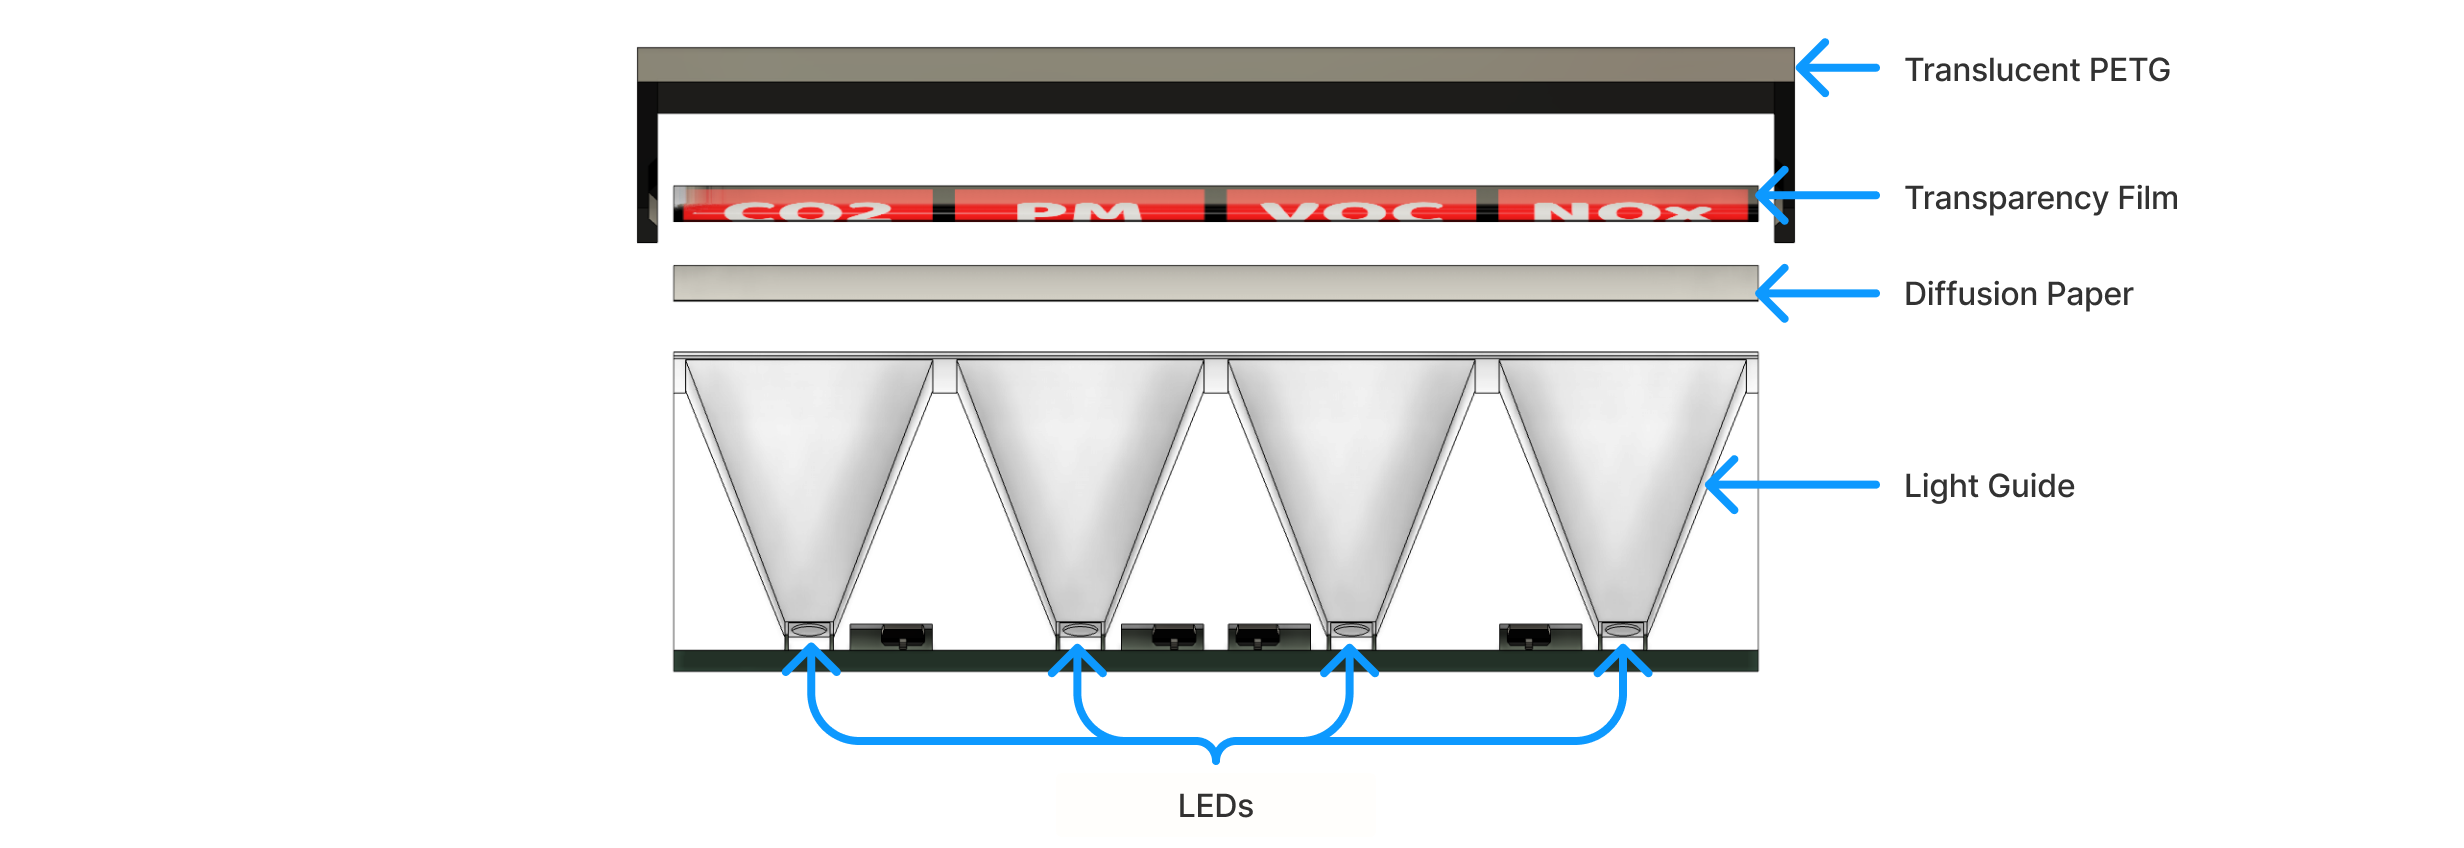
I decided to build a custom display utilizing icons printed on a sheet of transparency film. The diagram below shows how this display is assembled. The 3D printed display cover was printed in translucent gray PETG using special settings to make the 3D print as clear as possible.
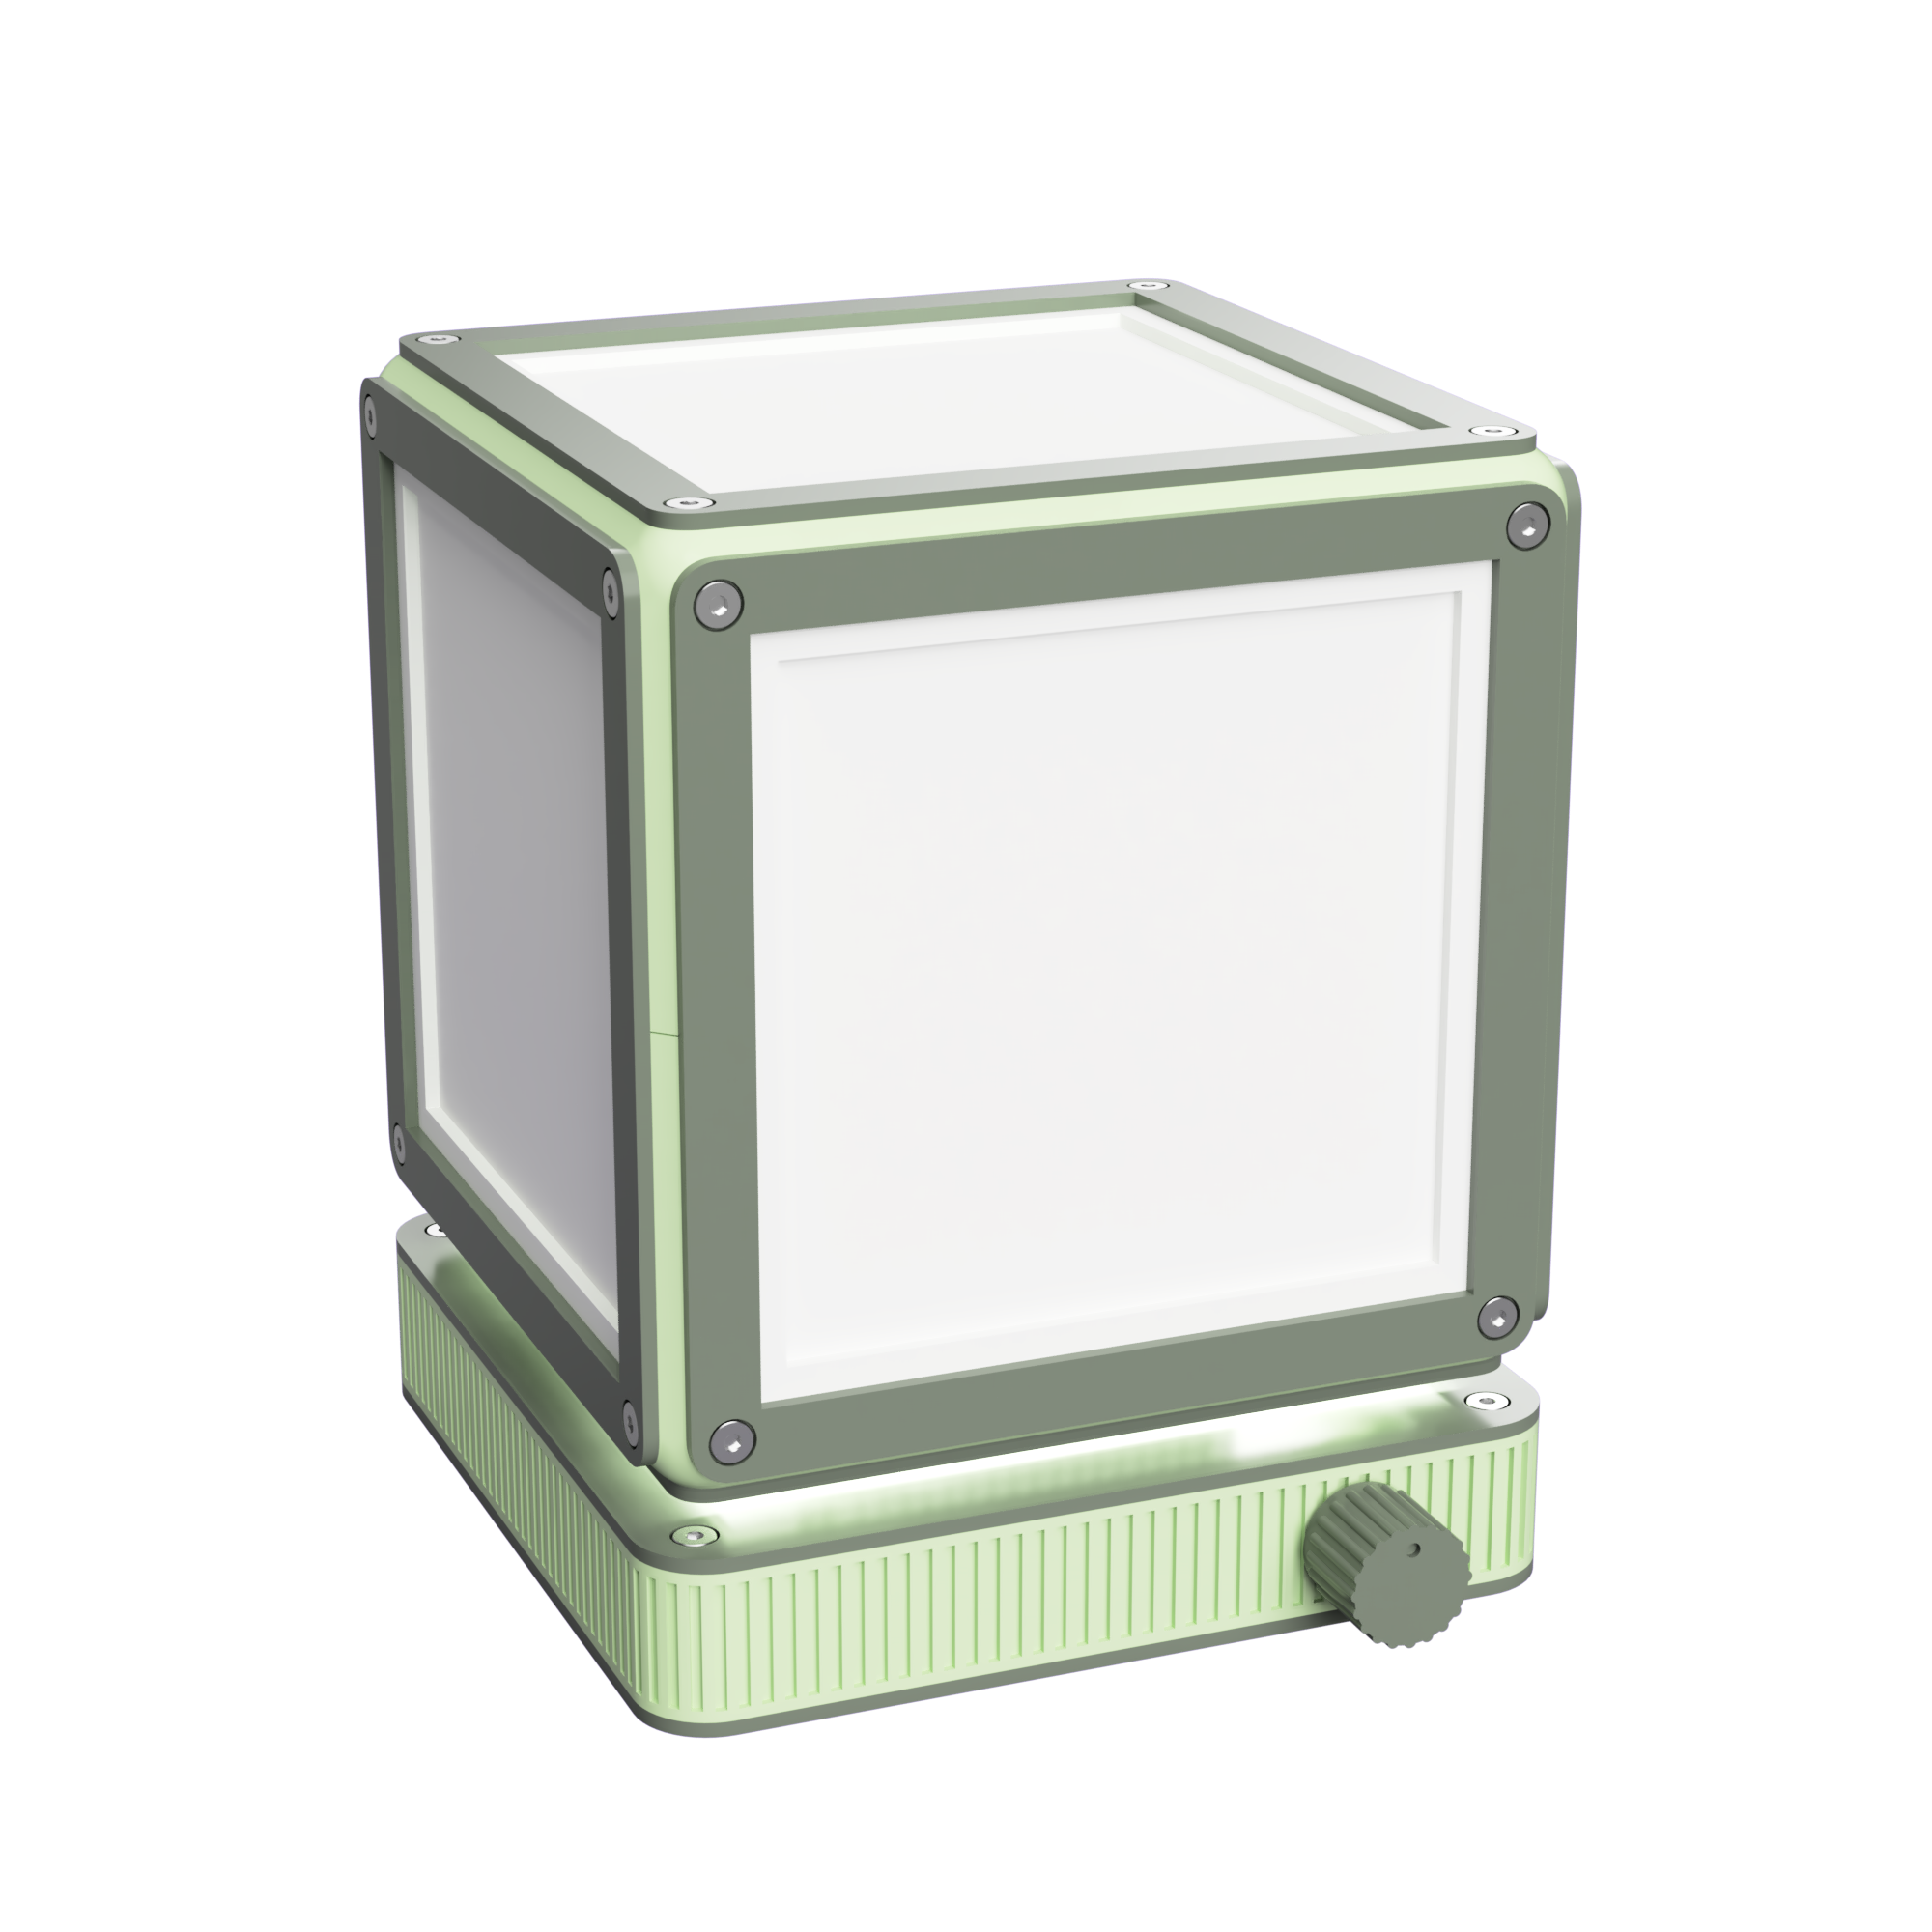
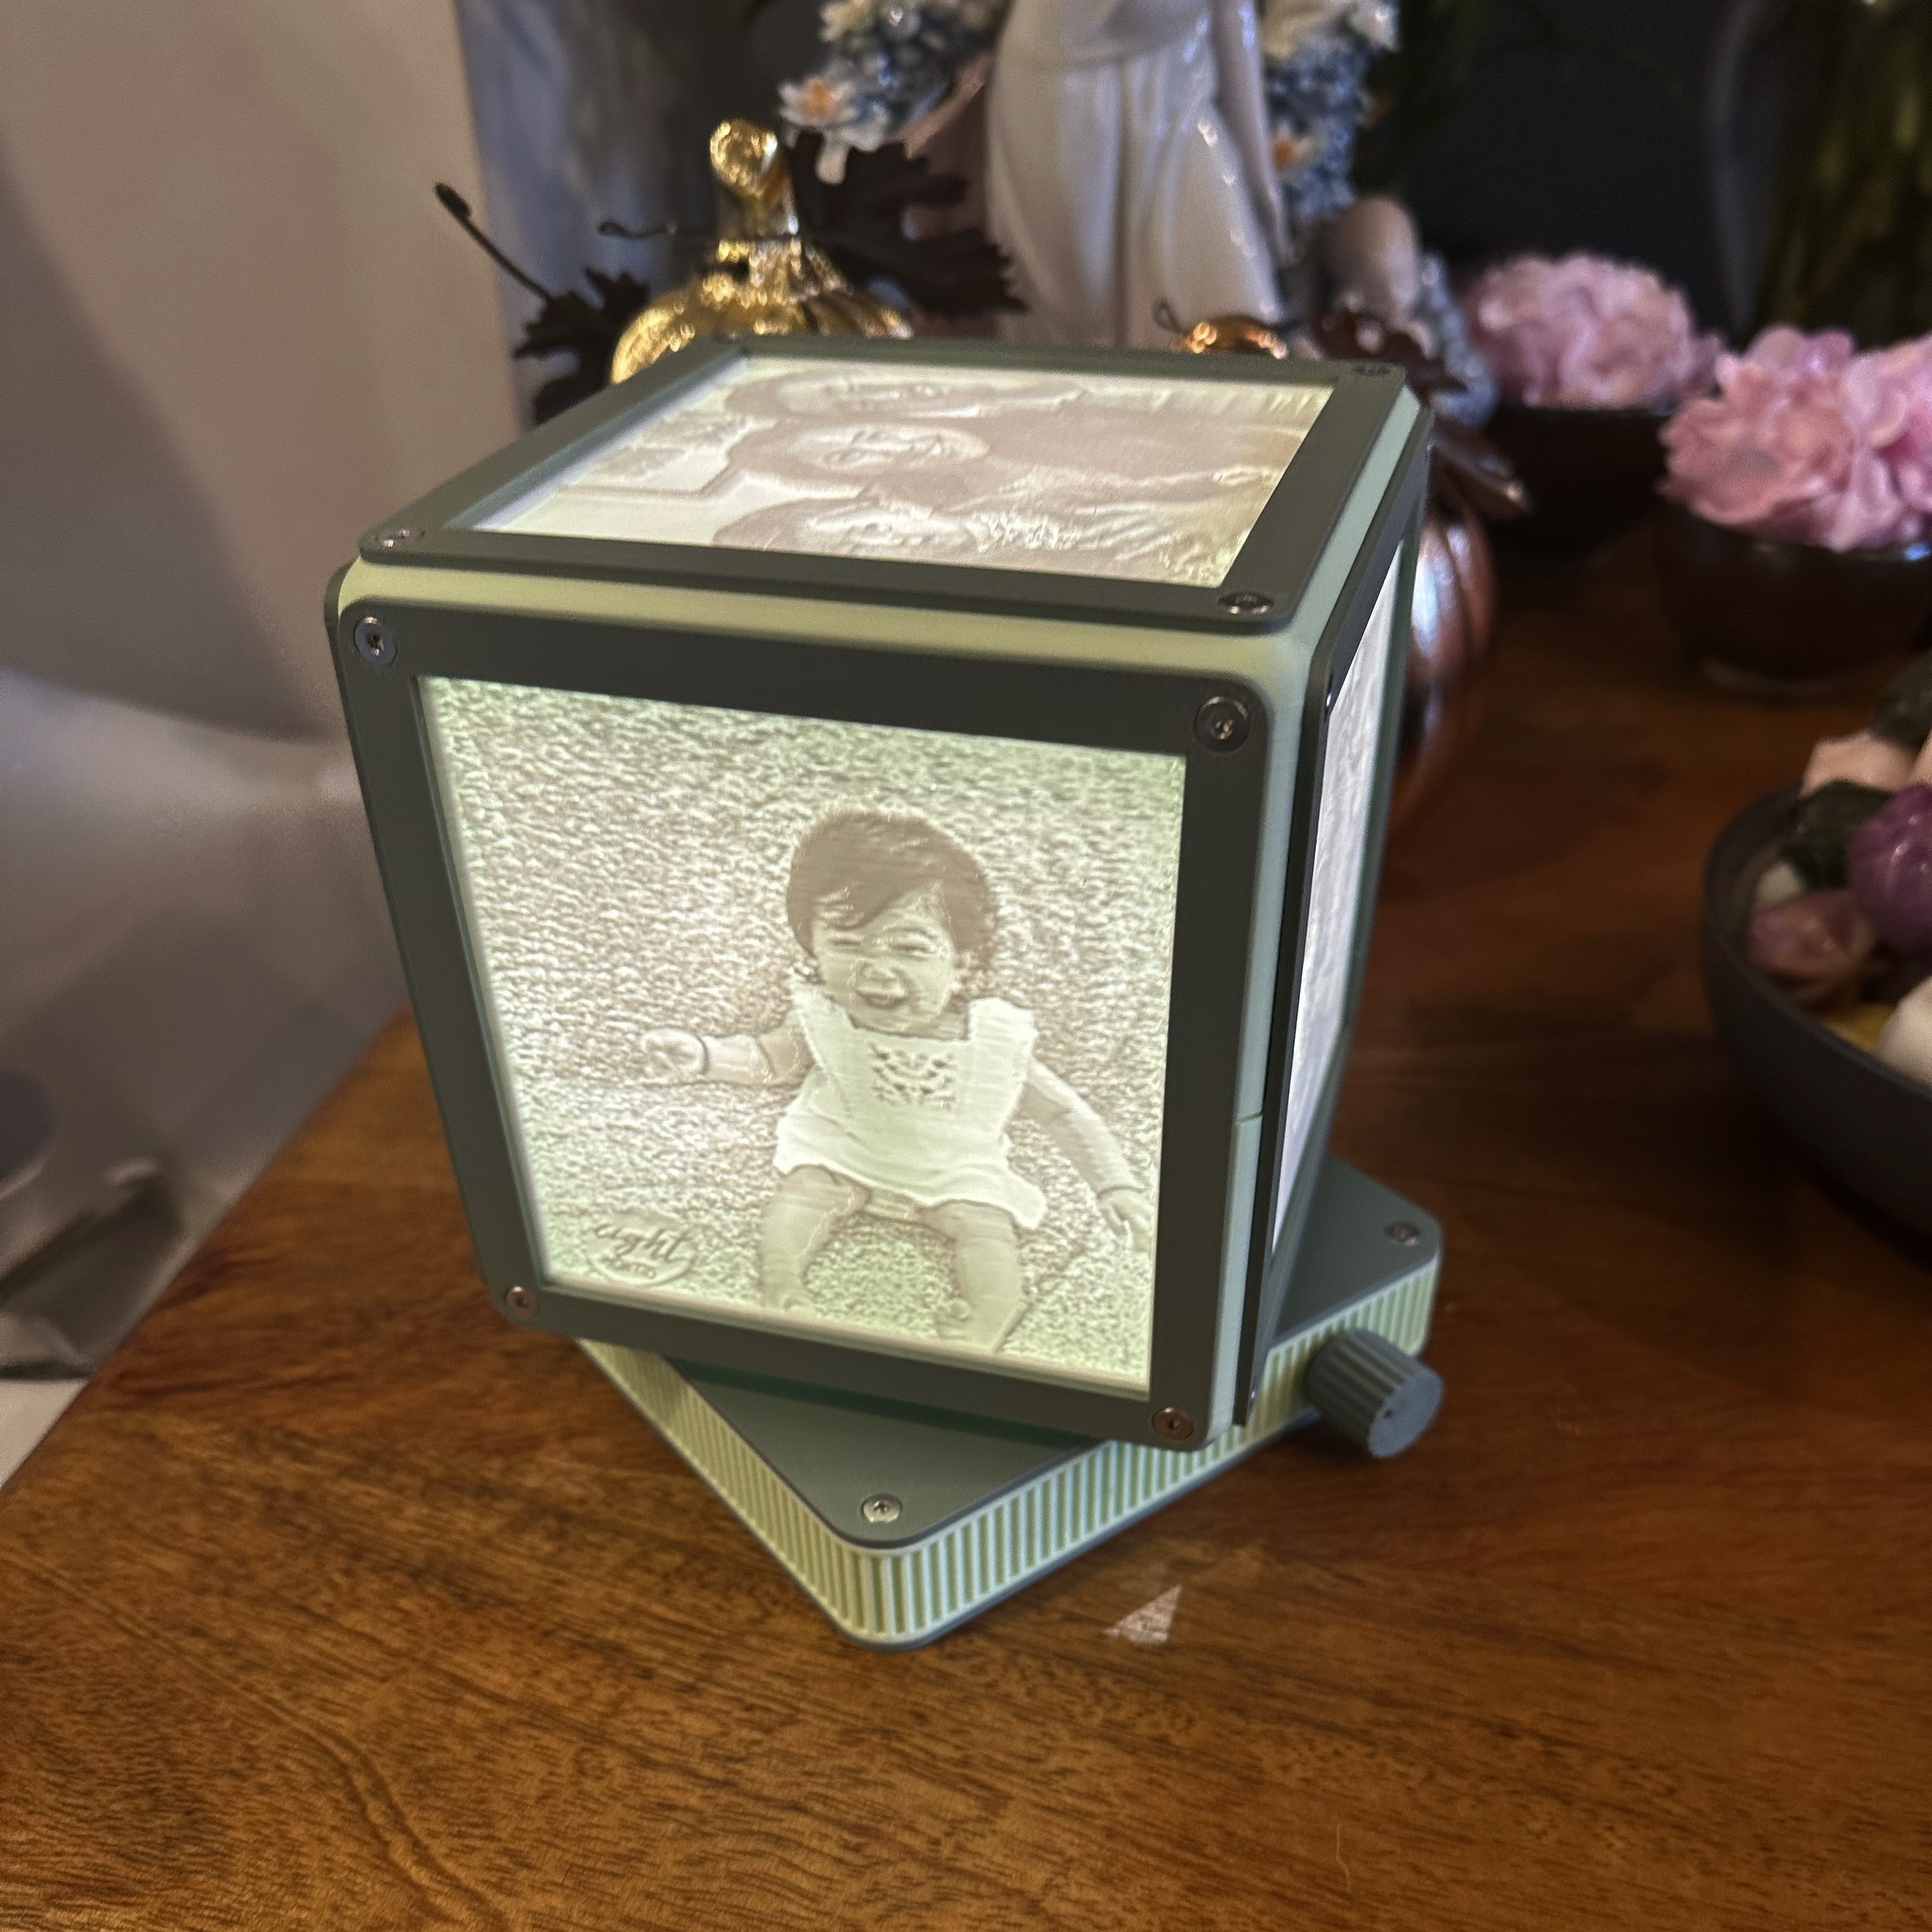
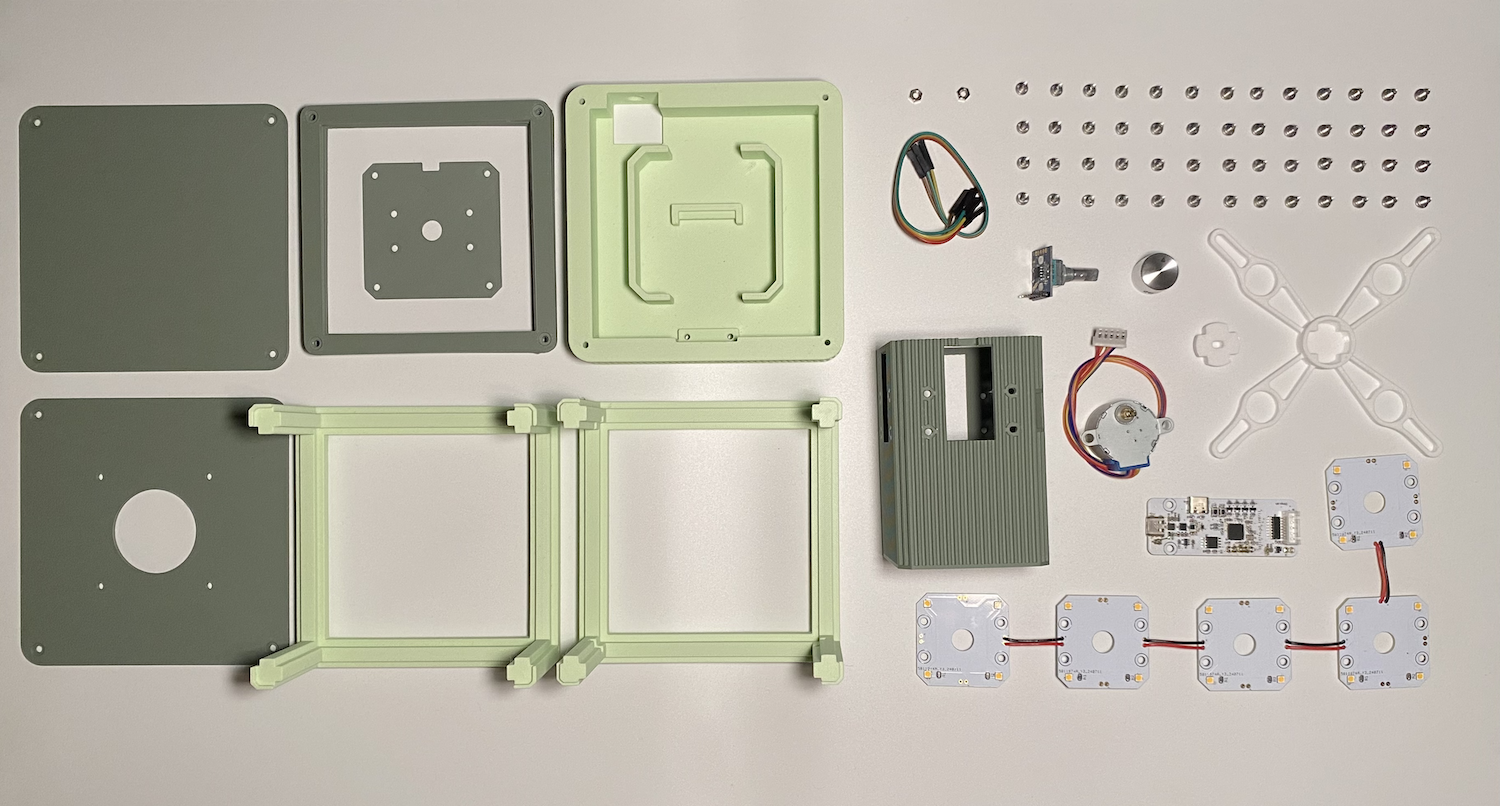
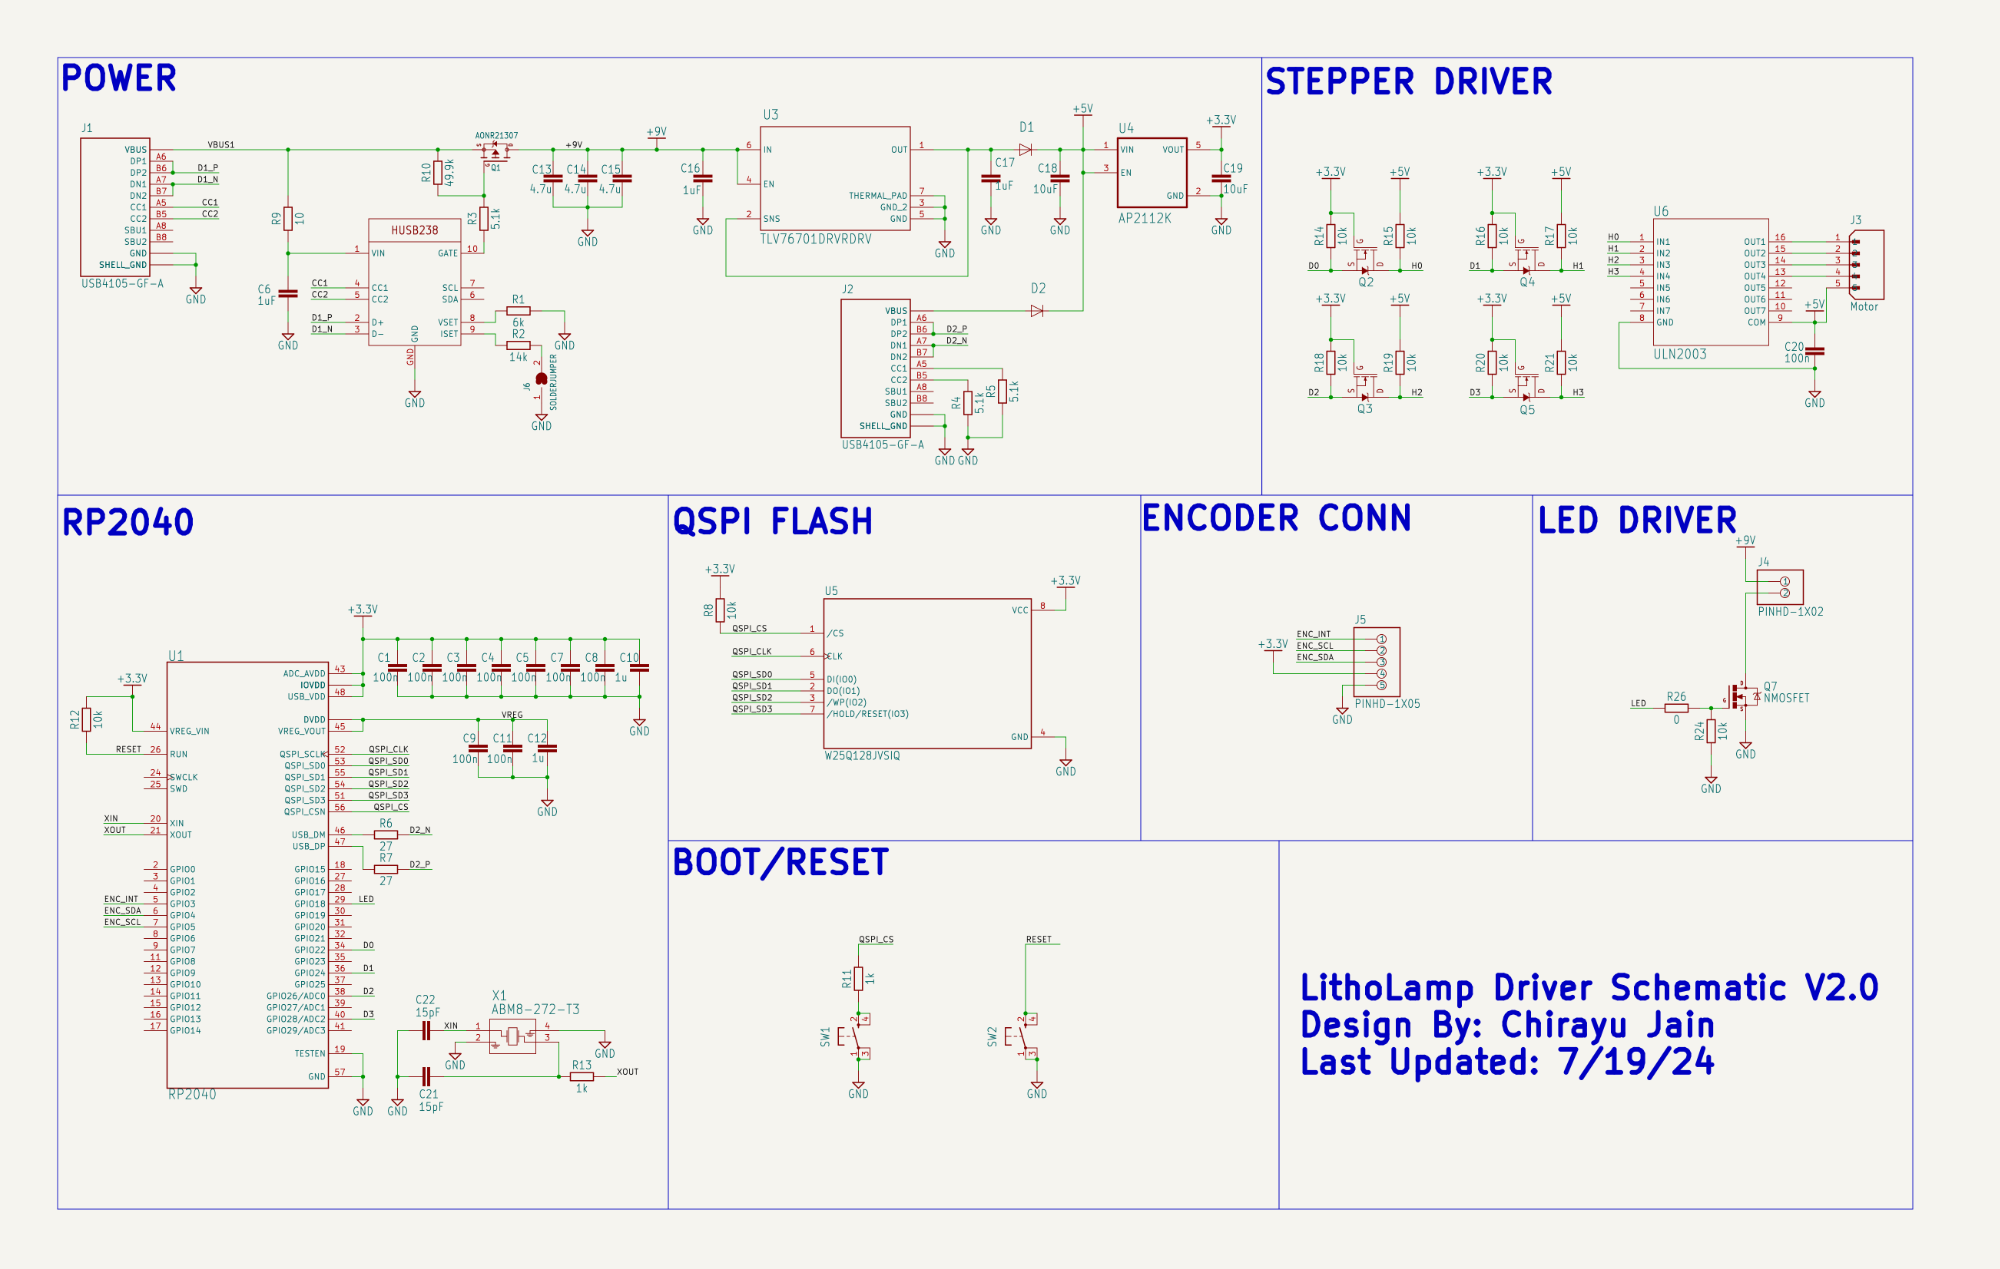
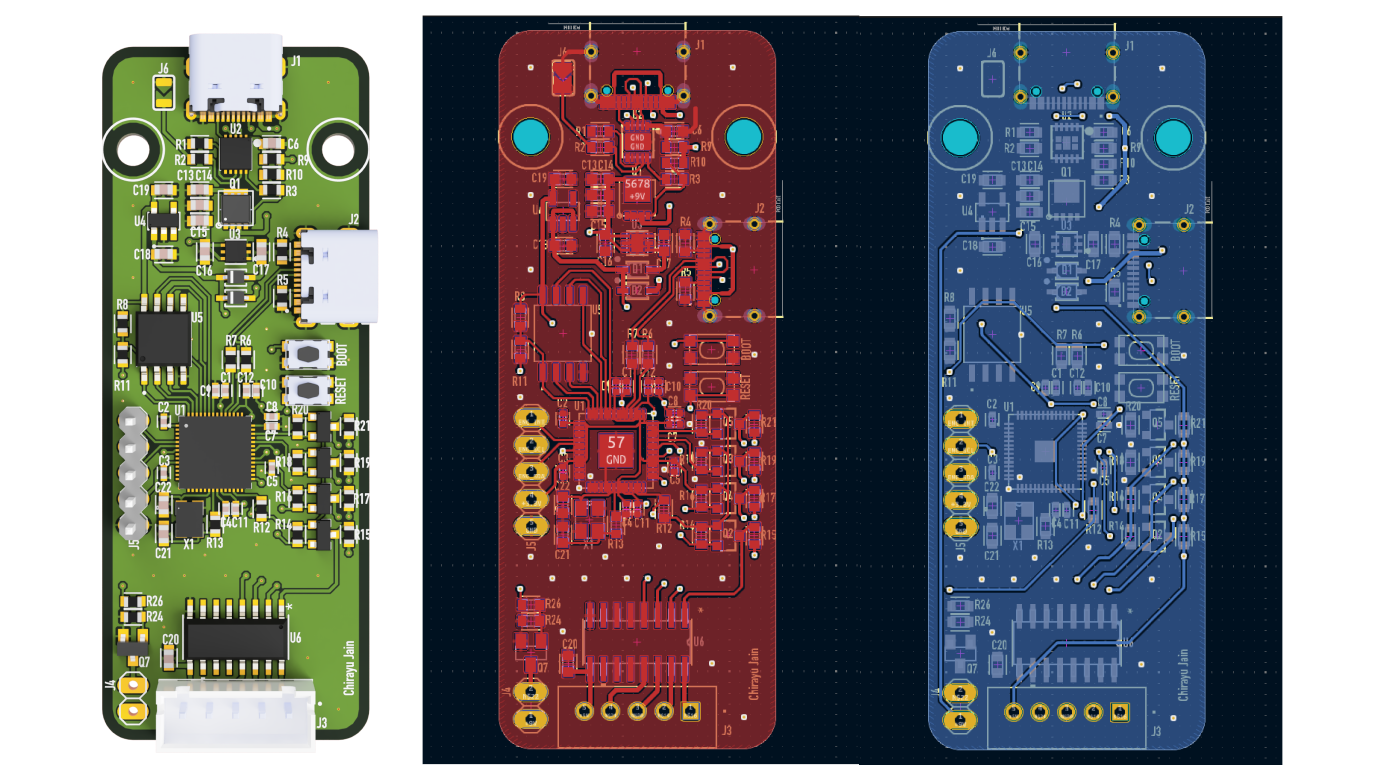
This lamp was designed as a gift for my niece. It uses 3D printed lithophanes and LEDs to create a realistic image effect. The lamp slowly rotates in place and has an input knob to adjust the light intensity. It is also entirely powered off of a single USBC port. The lithophane models are generated by an open source program. It takes an image, converts it to grayscale, inverts it, and then maps each individual pixel to a depth map creating a sort of topological 3D model of your image. Shining a light behind this creates the desired effect.
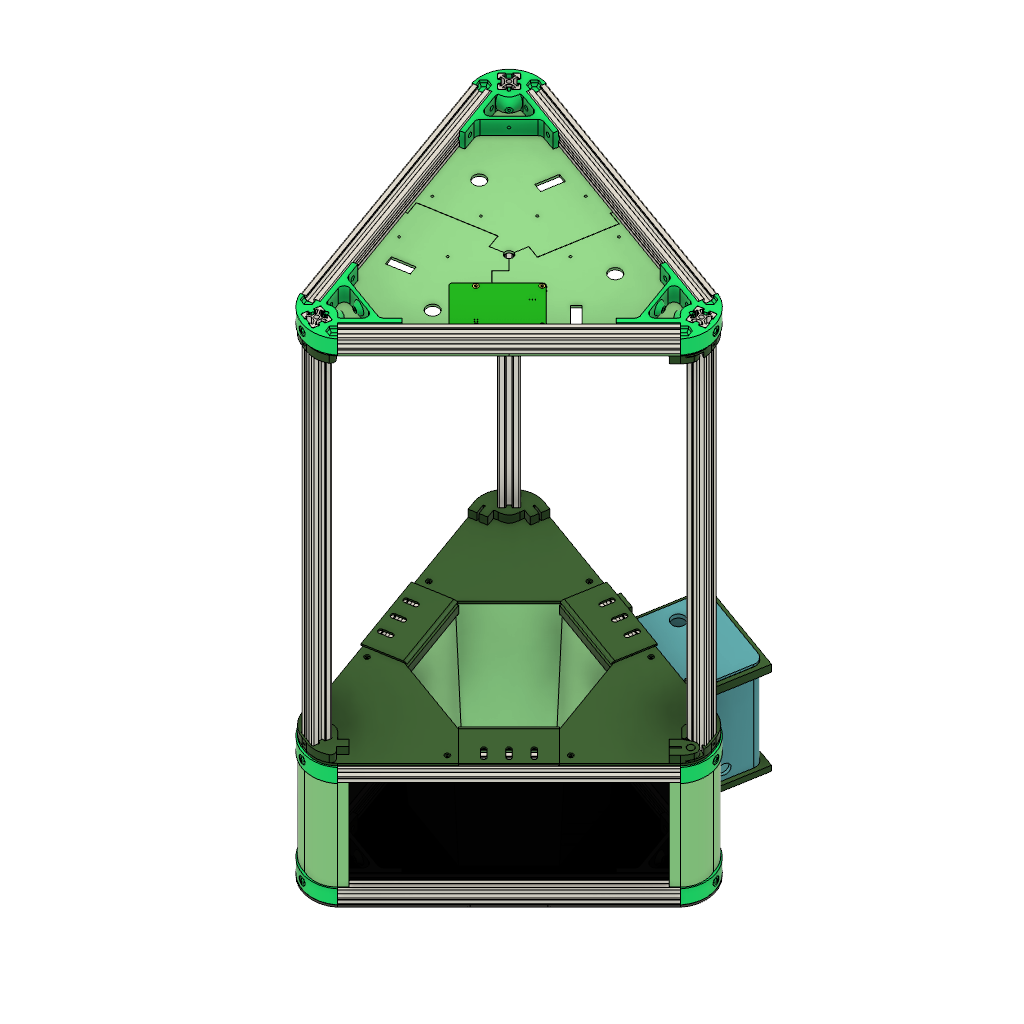
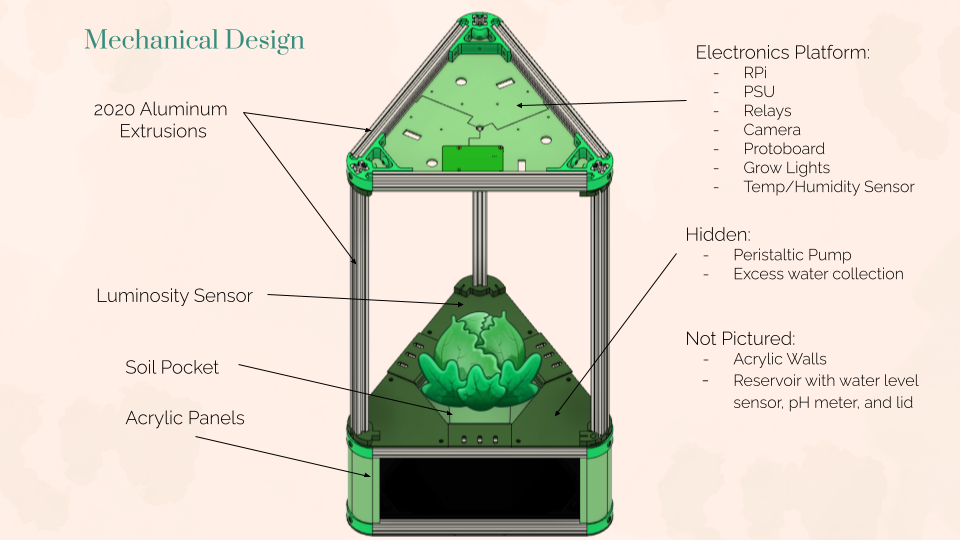
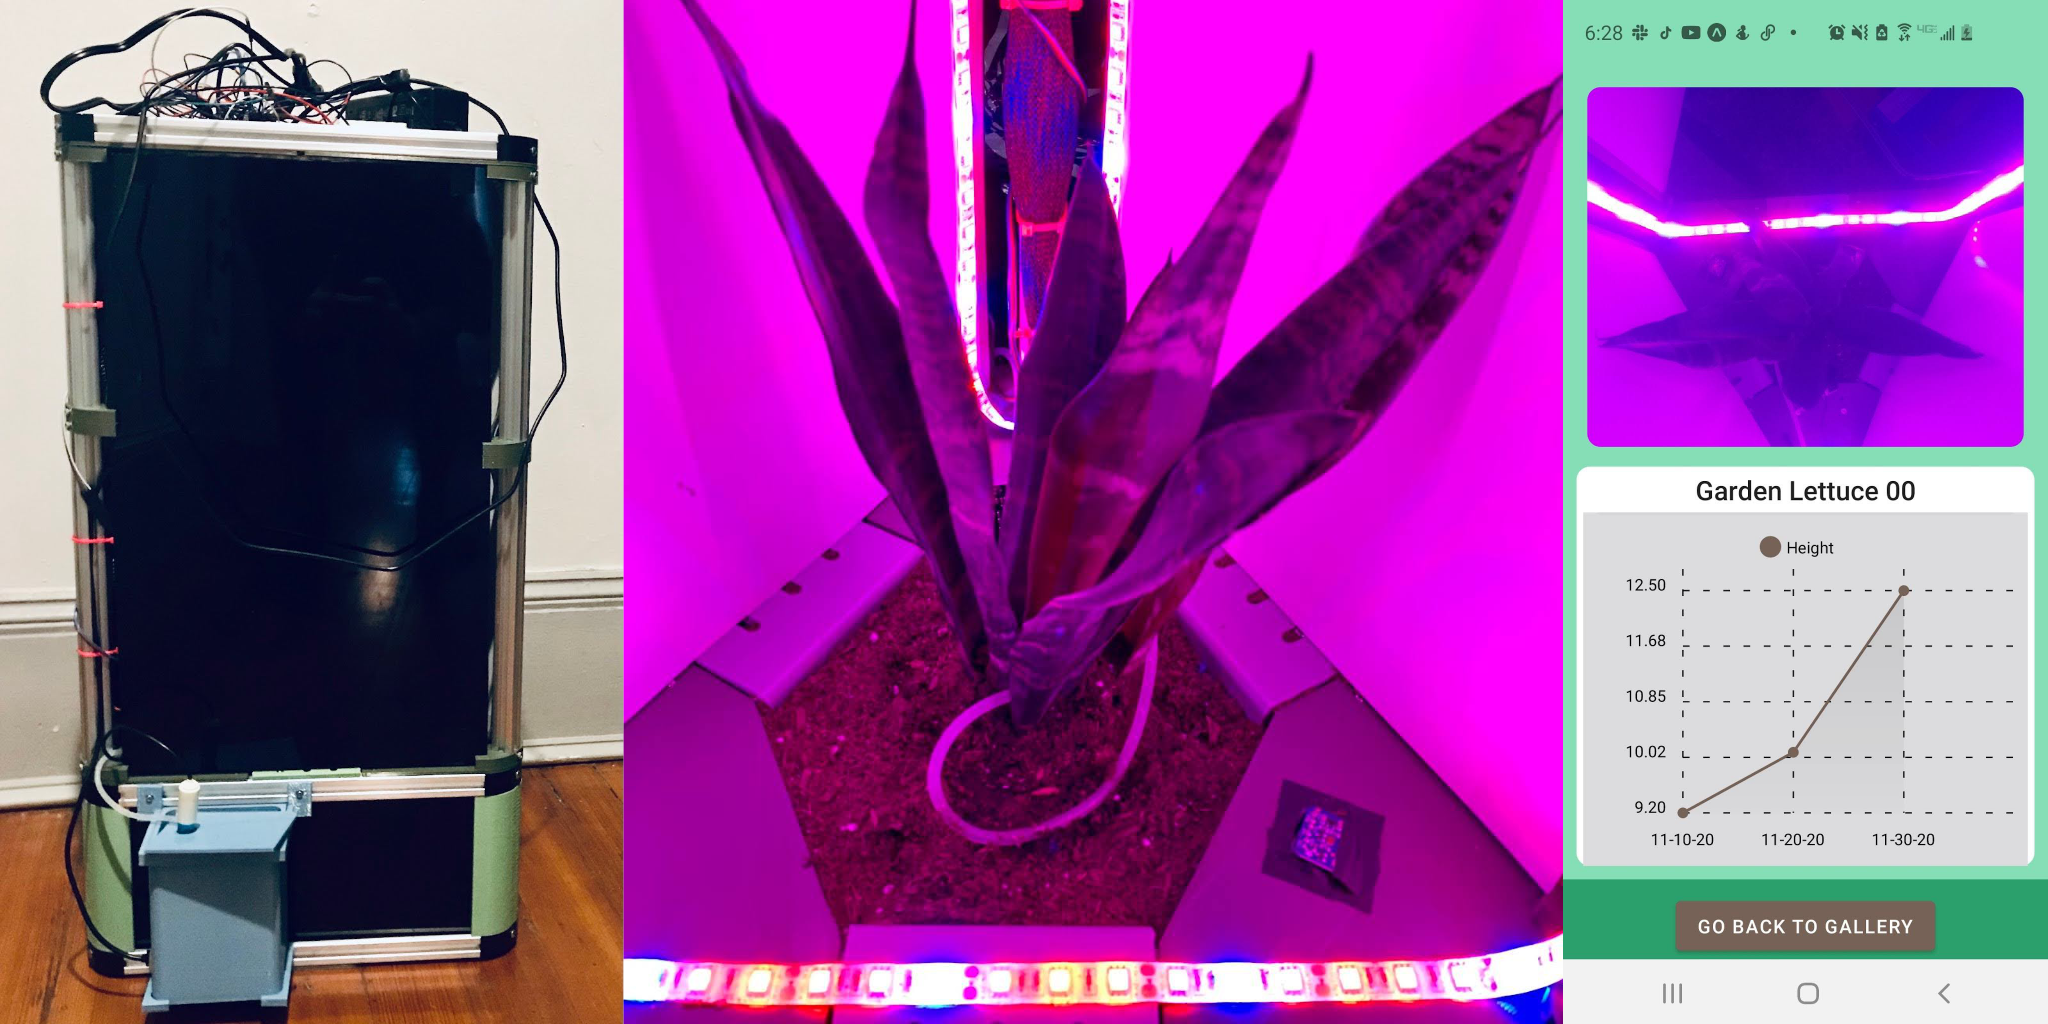
As part of my Northeastern engineering capstone project, my team and I developed an automated plant growing system designed as a prototype for industrial and research use.
The system features automatic nutrient feeding, spectral imaging for monitoring plant health, and a mobile app with historical data visualization. The Plant pod frame was a repurposed delta style 3D printer frame, and almost all additional hardware was 3D printed PETG or laser cut acrylic panels.
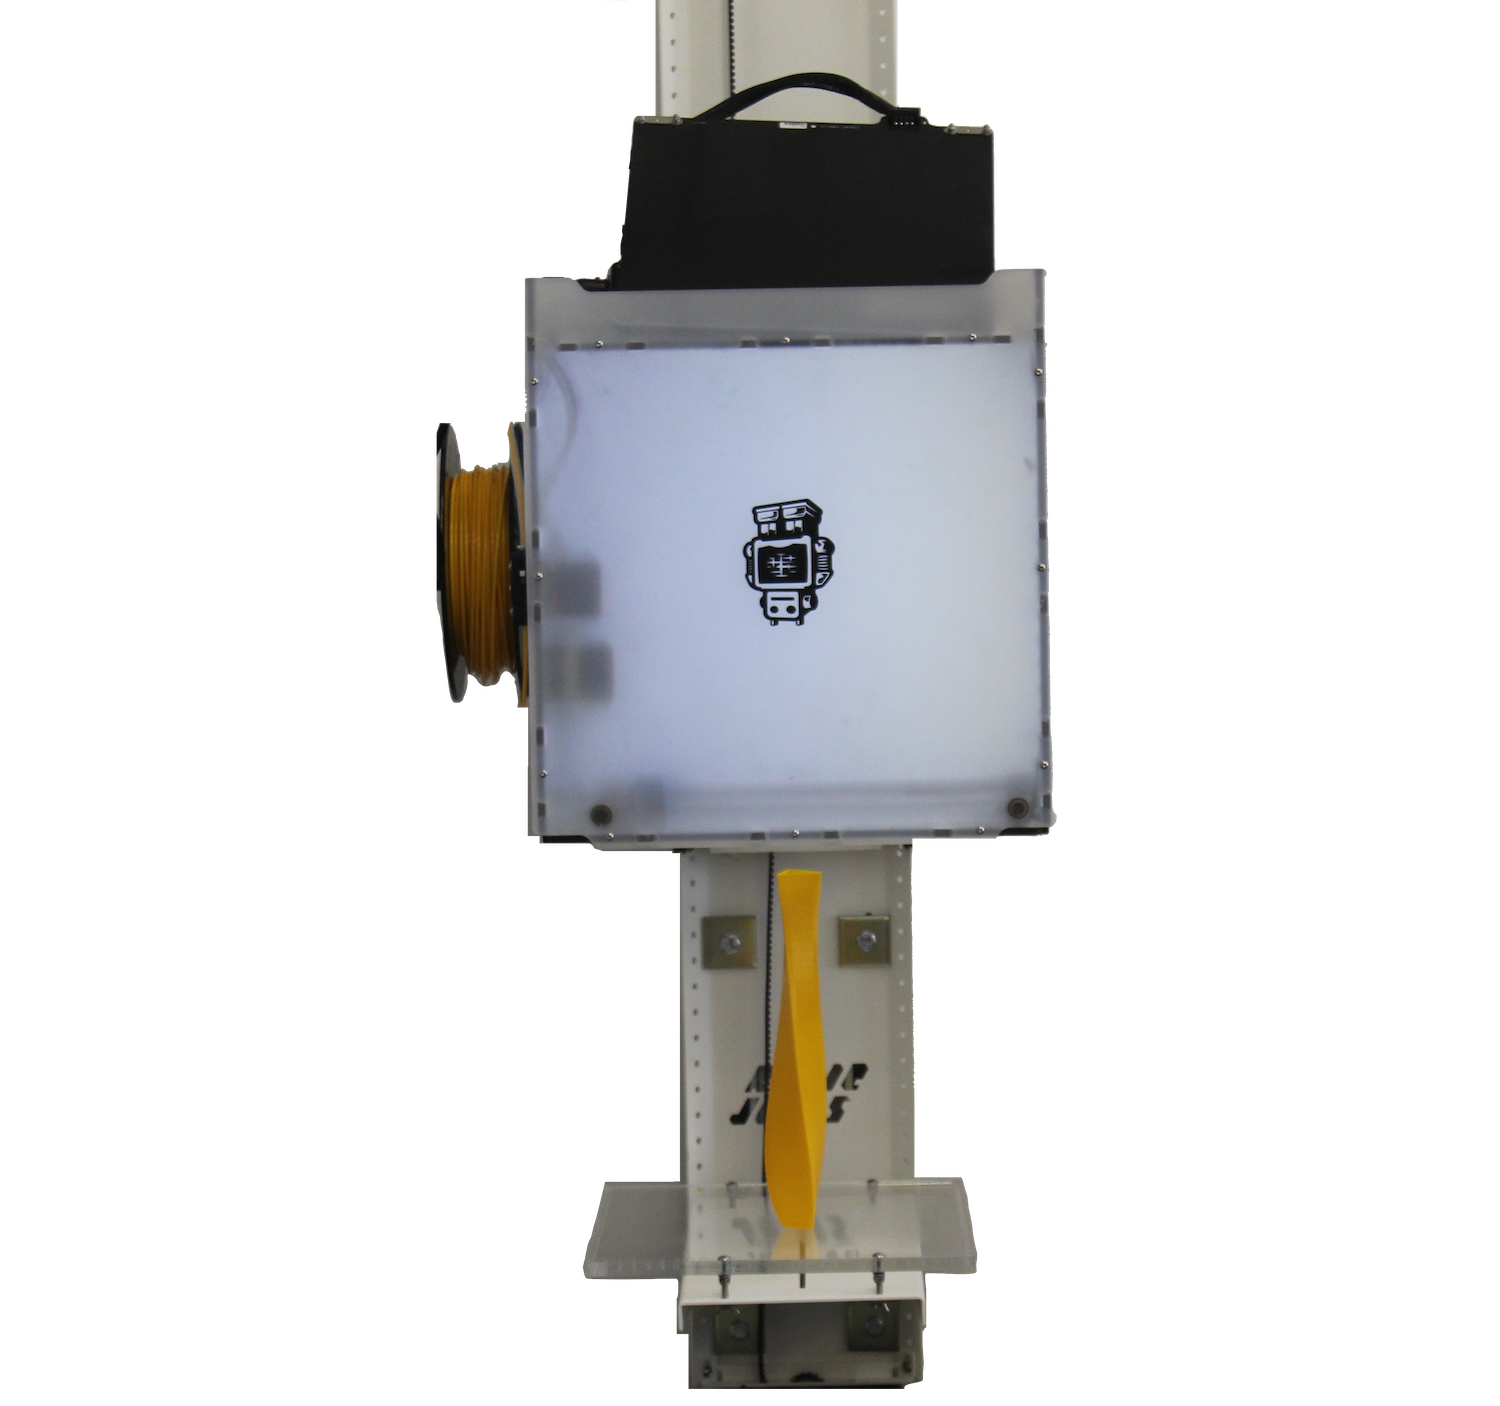
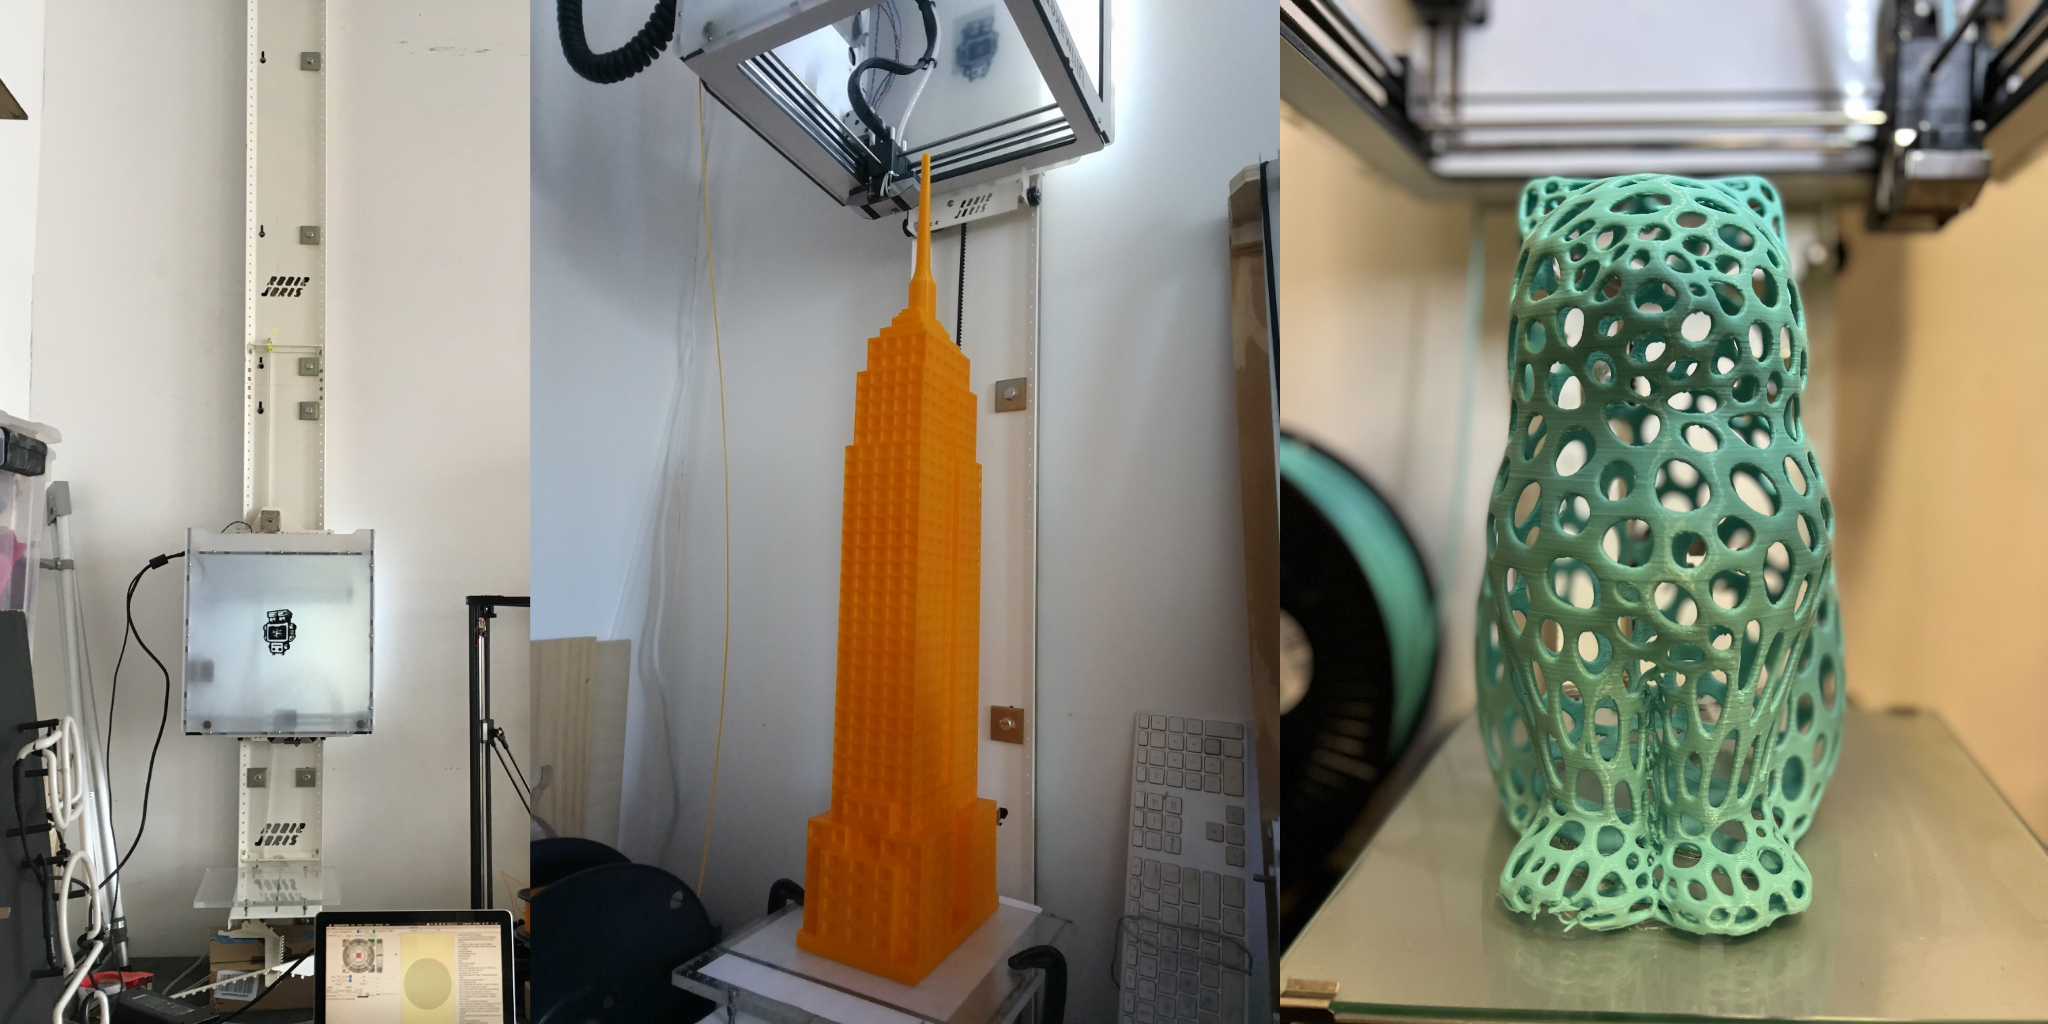
In 2017, I started working as an intern at Fat Cat Fab Lab. At the makerspace they had an Ultimaker 2+ 3D printer that was no longer working. Instead of throwing it out, I took it apart and rebuilt it upside down. The printer was then mounted to a vertical steel railing with a new Z axis motor that would allow it to travel up the railing. This allowed the Ultimaker 2+ to increase it's build height from 0.2 meters to 2 meters.
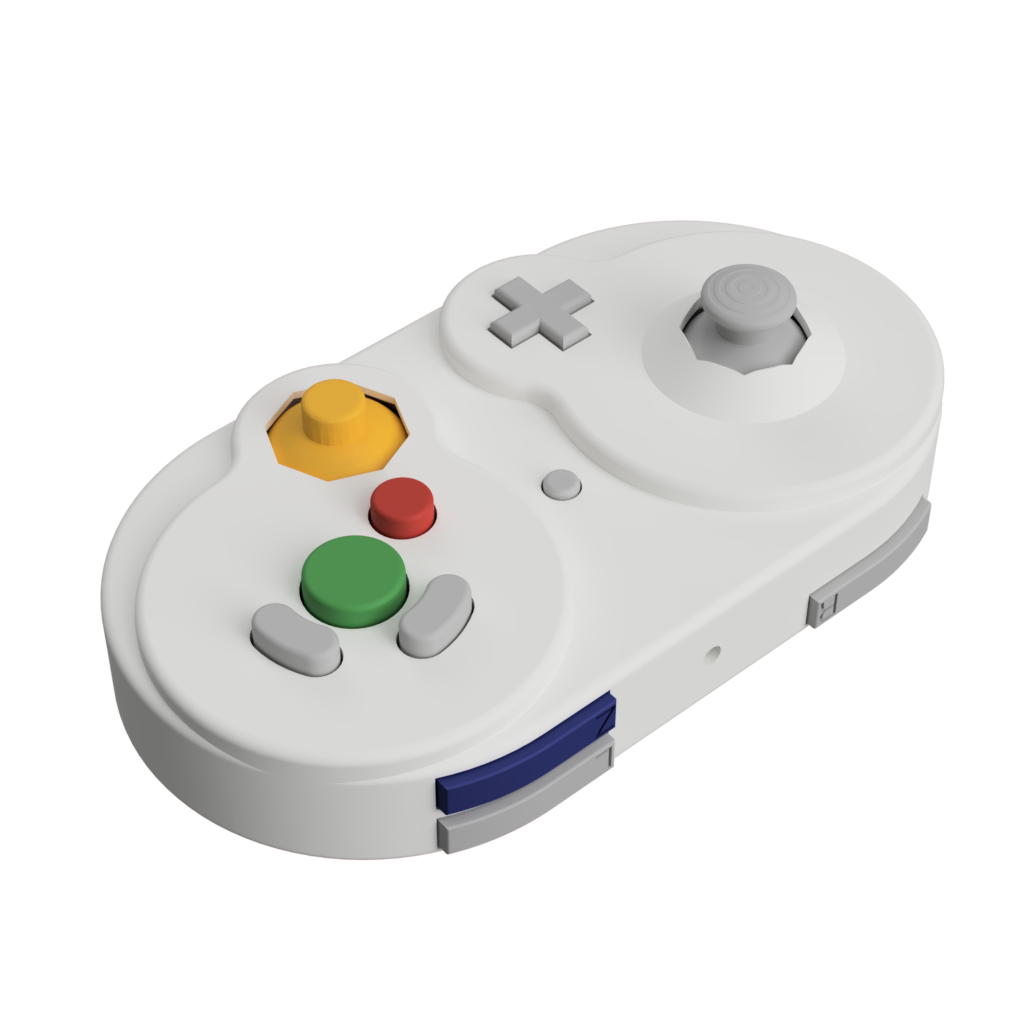
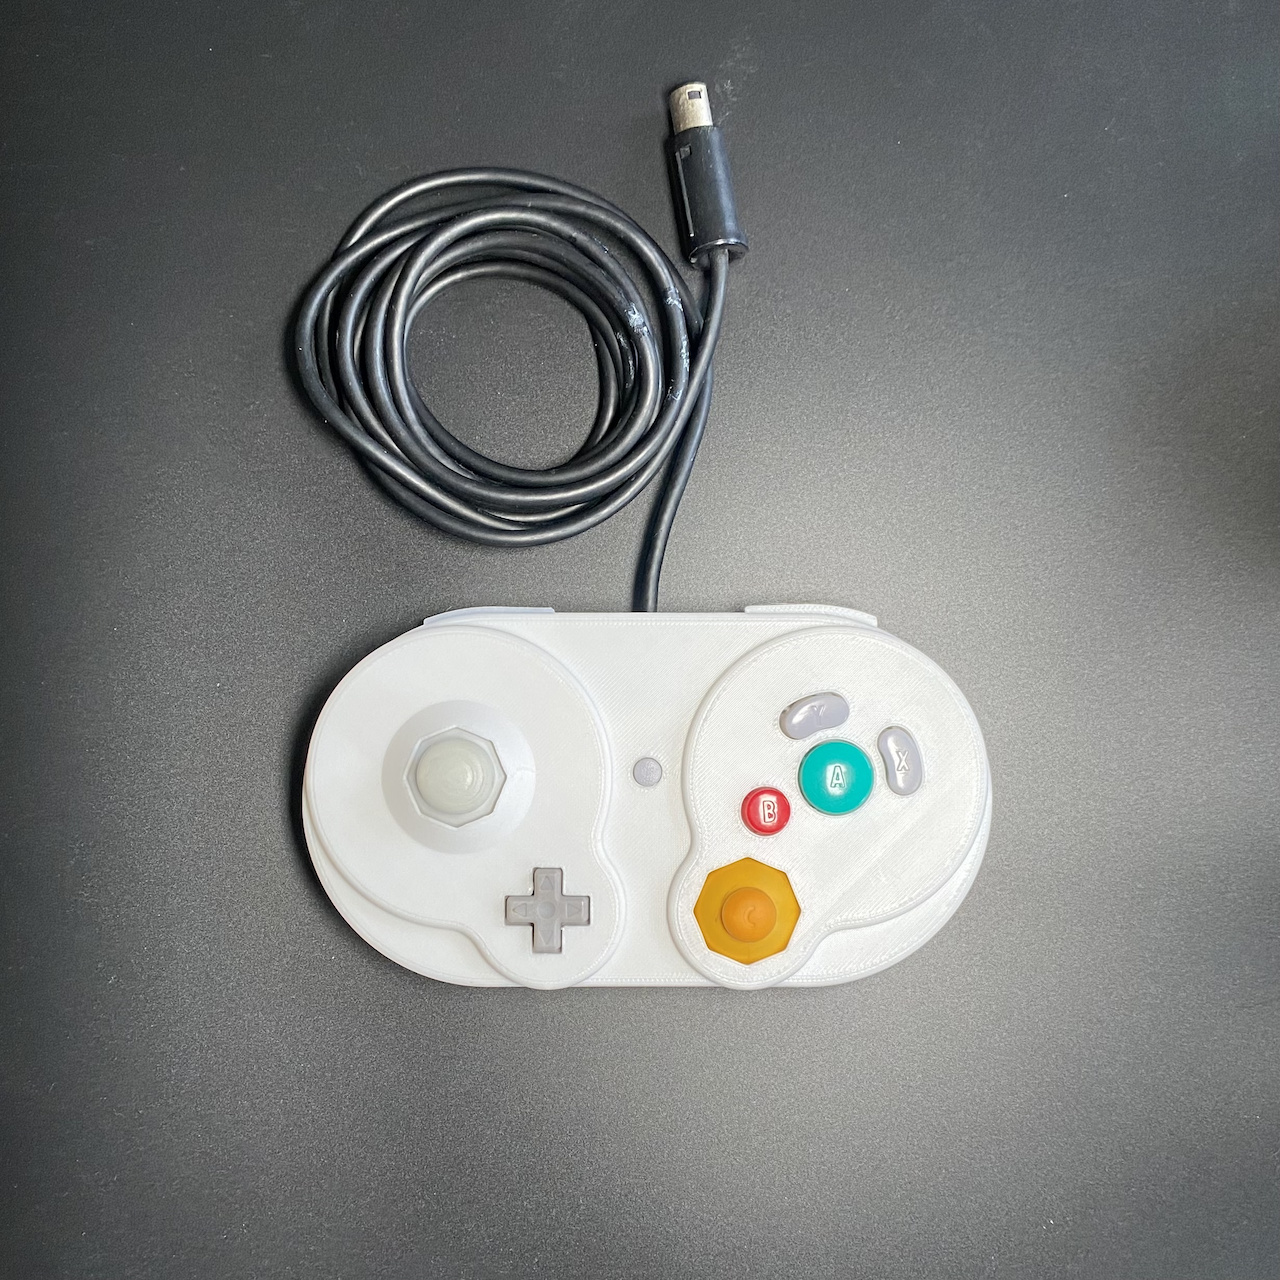
The gamecube controller was released in 2001, and yet over 20 years later, thousands of people still have the old controller kicking around. In 2022, a project released that allowed you to replace the motherboard of the controller to enable modern features.
Rather than throwing out the OEM motherboard, I decided to design a new shell for the PCB that was inspired by even more retro controllers.
The design is fully 3D printable and doesnt require any soldering or modifications of the original hardware to work.
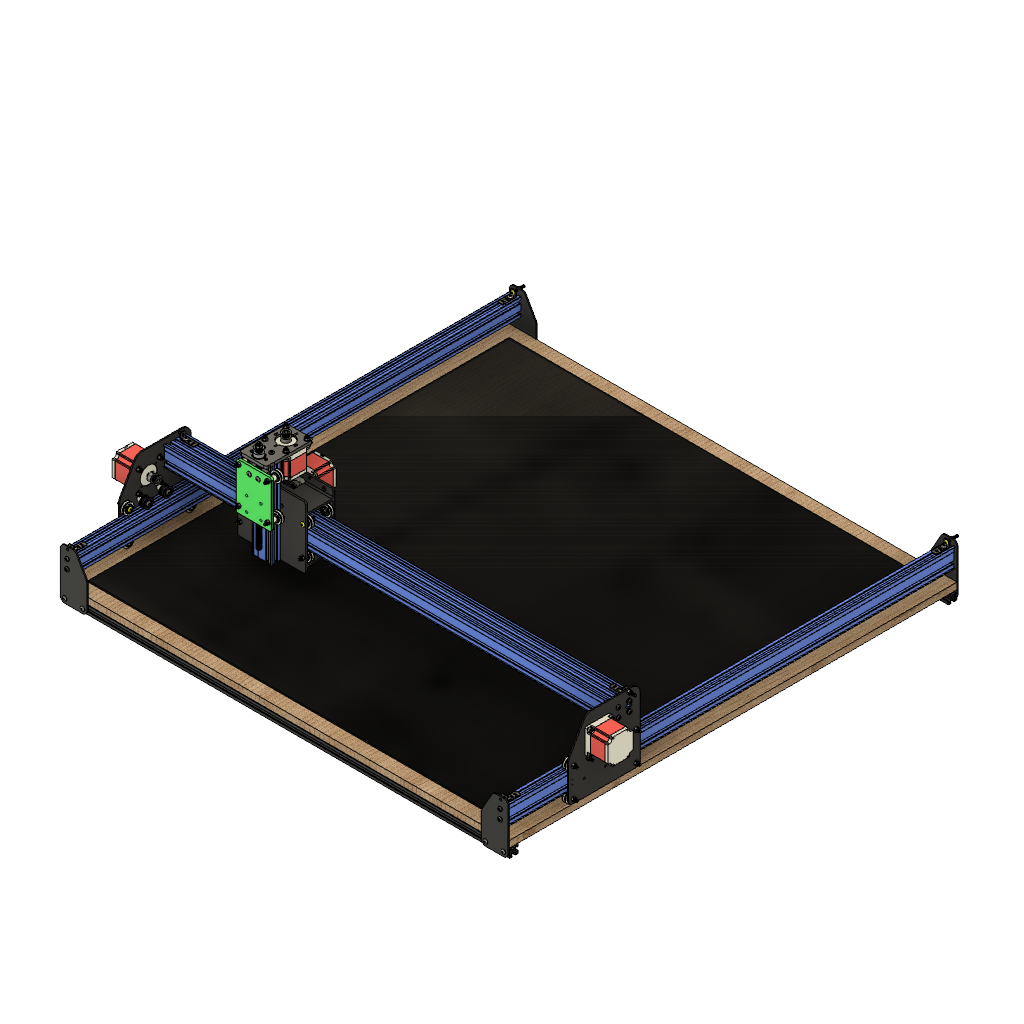
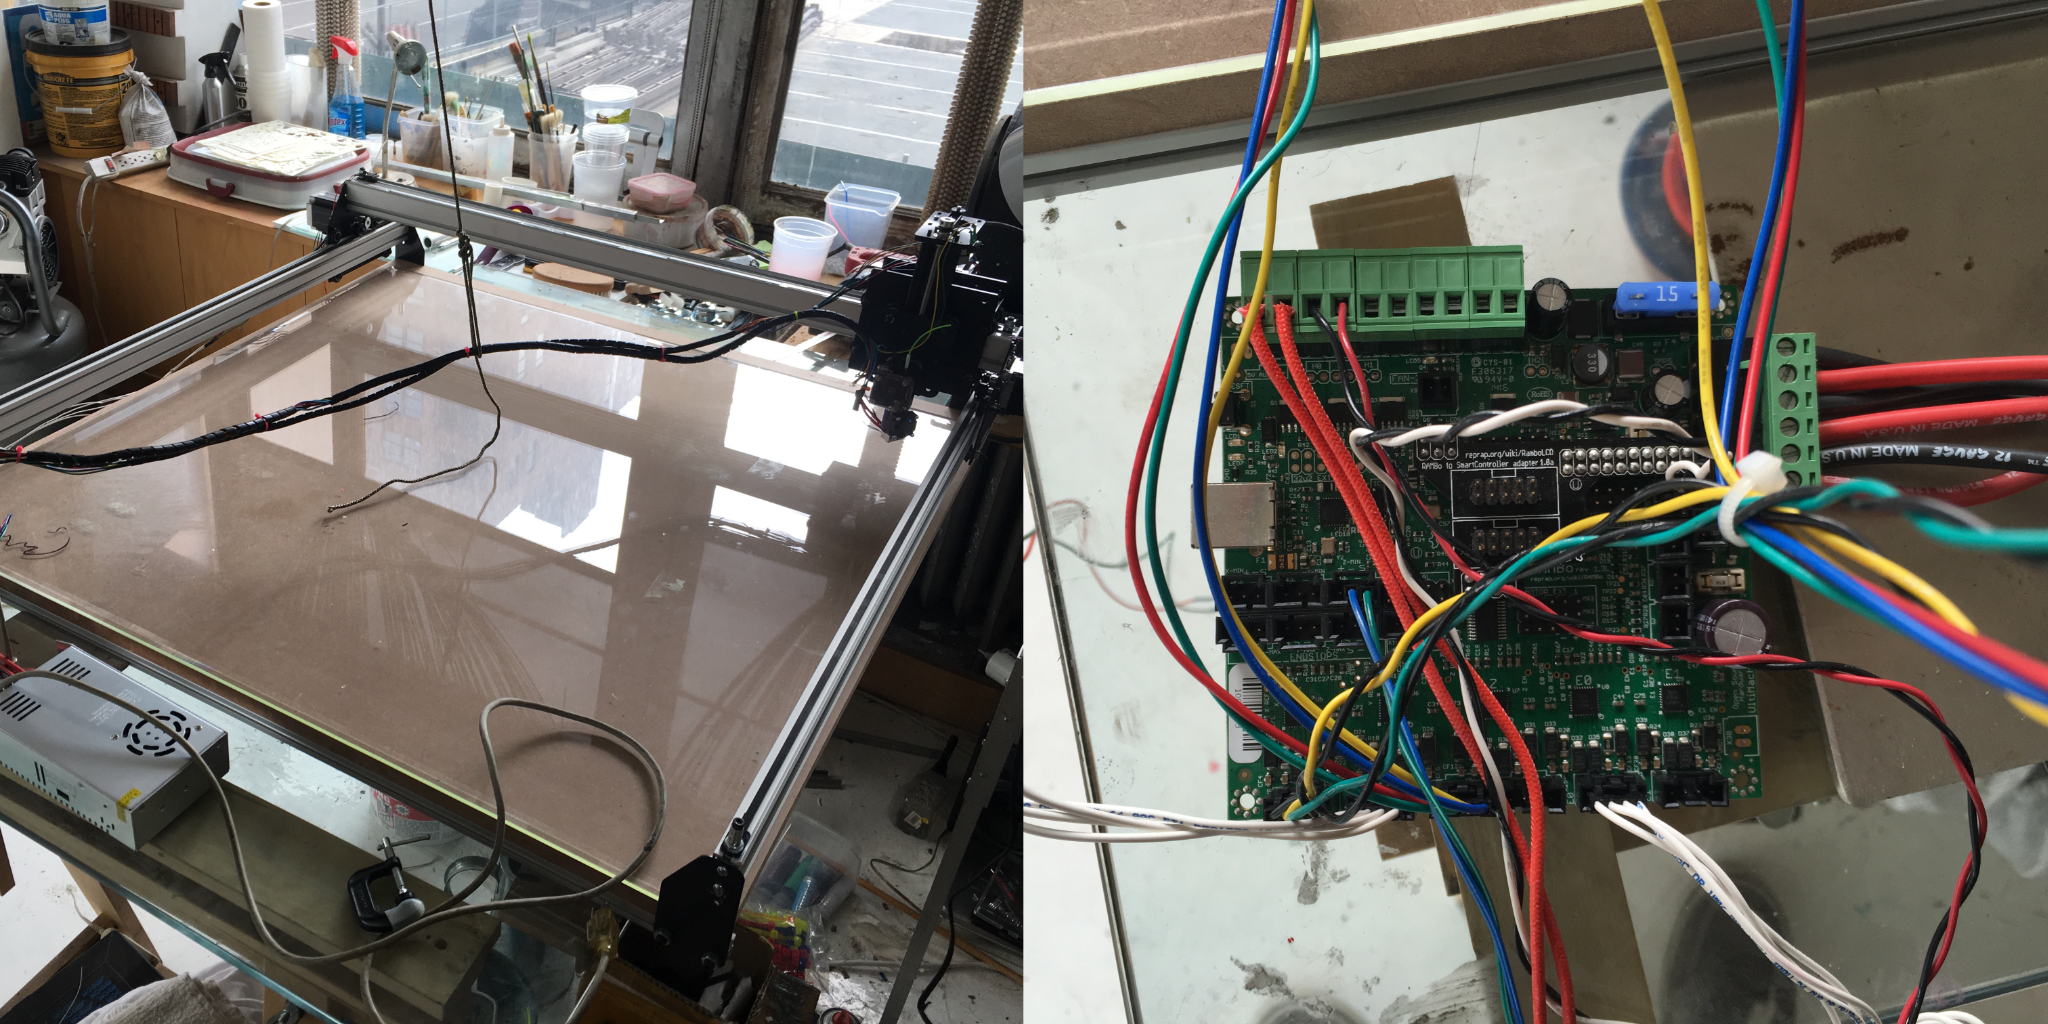
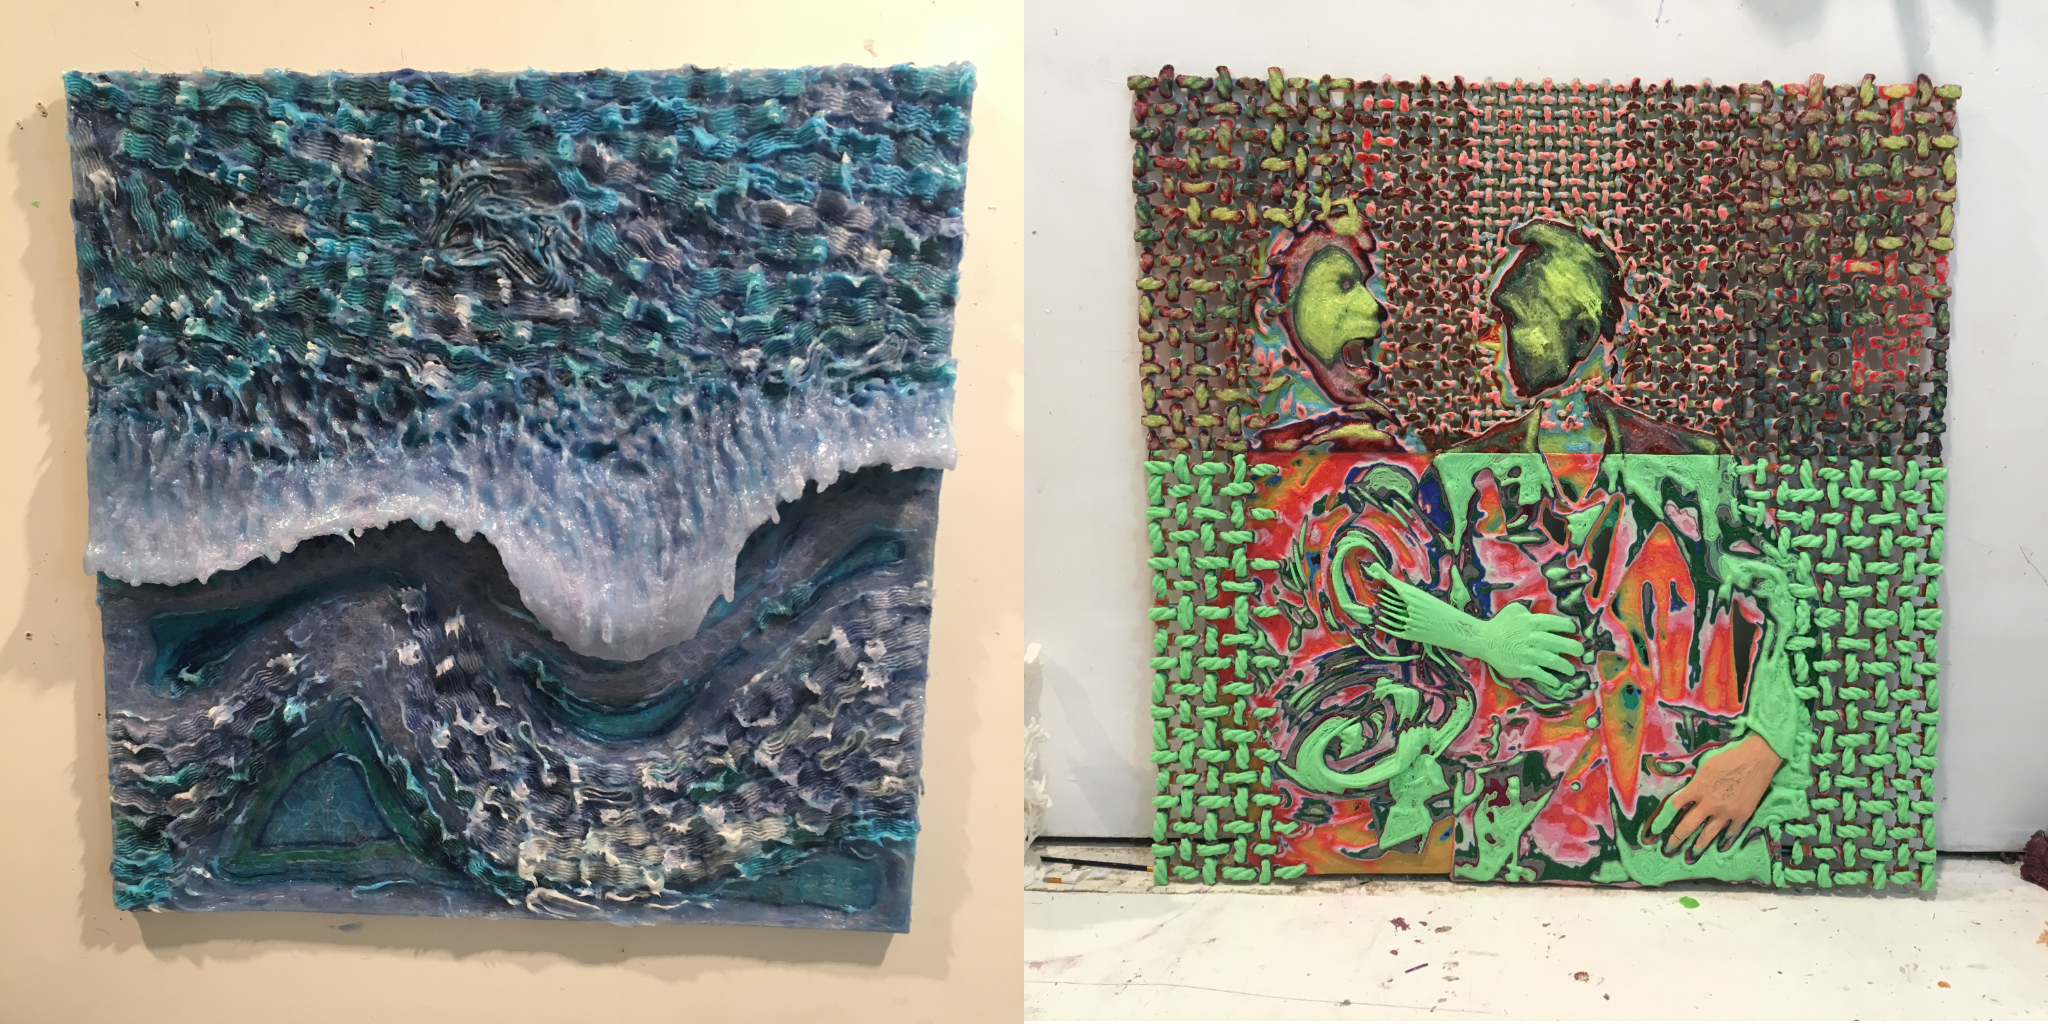
In 2016 I was hired by the artist, Fabian Marcaccio to build a large format 1m x 1m x 0.2m 3D printer. This was part of his art series called Paintants which explores the how traditional art mediums are evolving with the digital age.
I used an open builds CNC frame, NEMA 23 Motors and a modified RAMBo 1.2 Control board for the printer construction. I used a Bondtech dual drive extruder, an E3D V6 Volcano Hotend, and a 0.8mm Nozzle for high flowrate printing. The buildplate was a sheet of 1m x 1m borosilicate glass that was made from a local glass shop. I also modified the Marlin firmware to disable idle motor current. This allowed for manual movements of the printer head even while printing live.
I helped Fabian modify some of his art designs to be more suitable for 3D printing. Below is a sample of some of the art we collaborated on. A full art piece could take 100-200 hours to print. I have a full gallery linked below.
3 years after the initial construction, modifications were made to enable the machine to print in multicolor silicone using an interchangeable tool head.
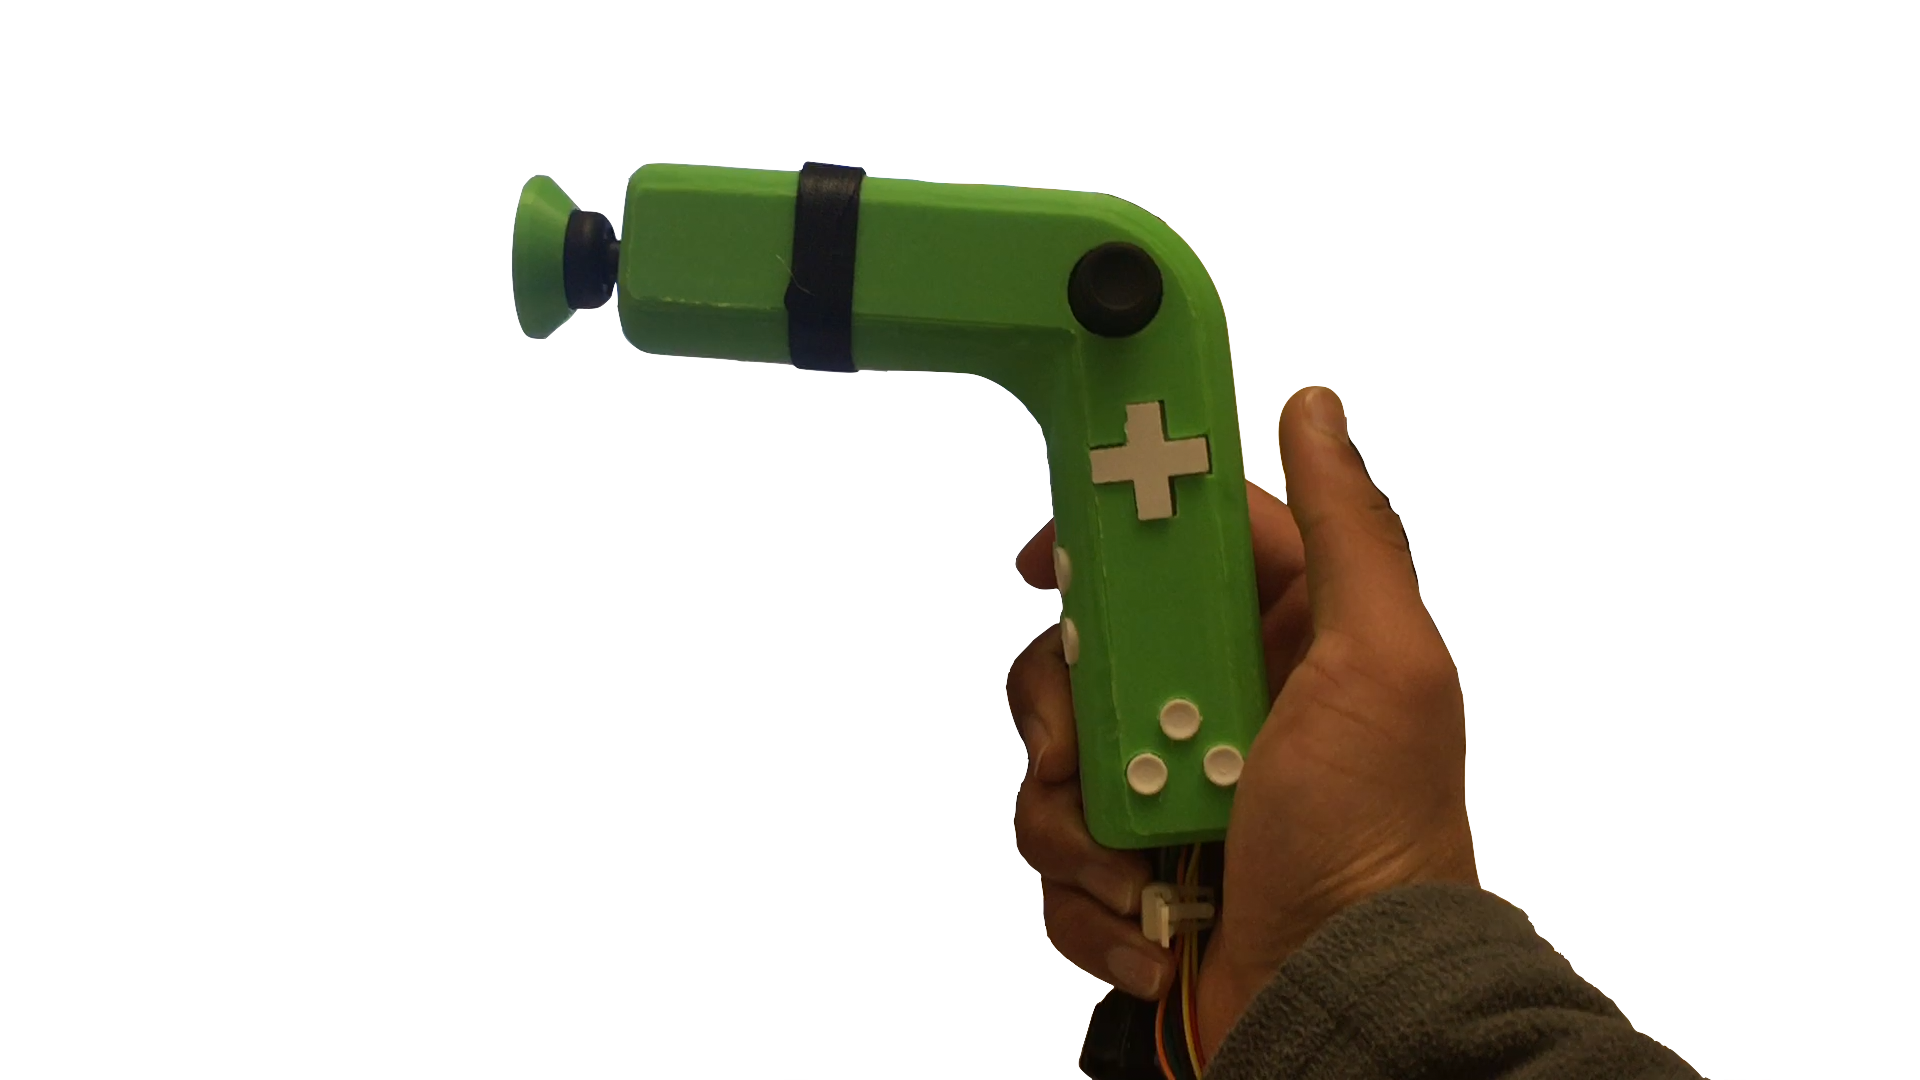
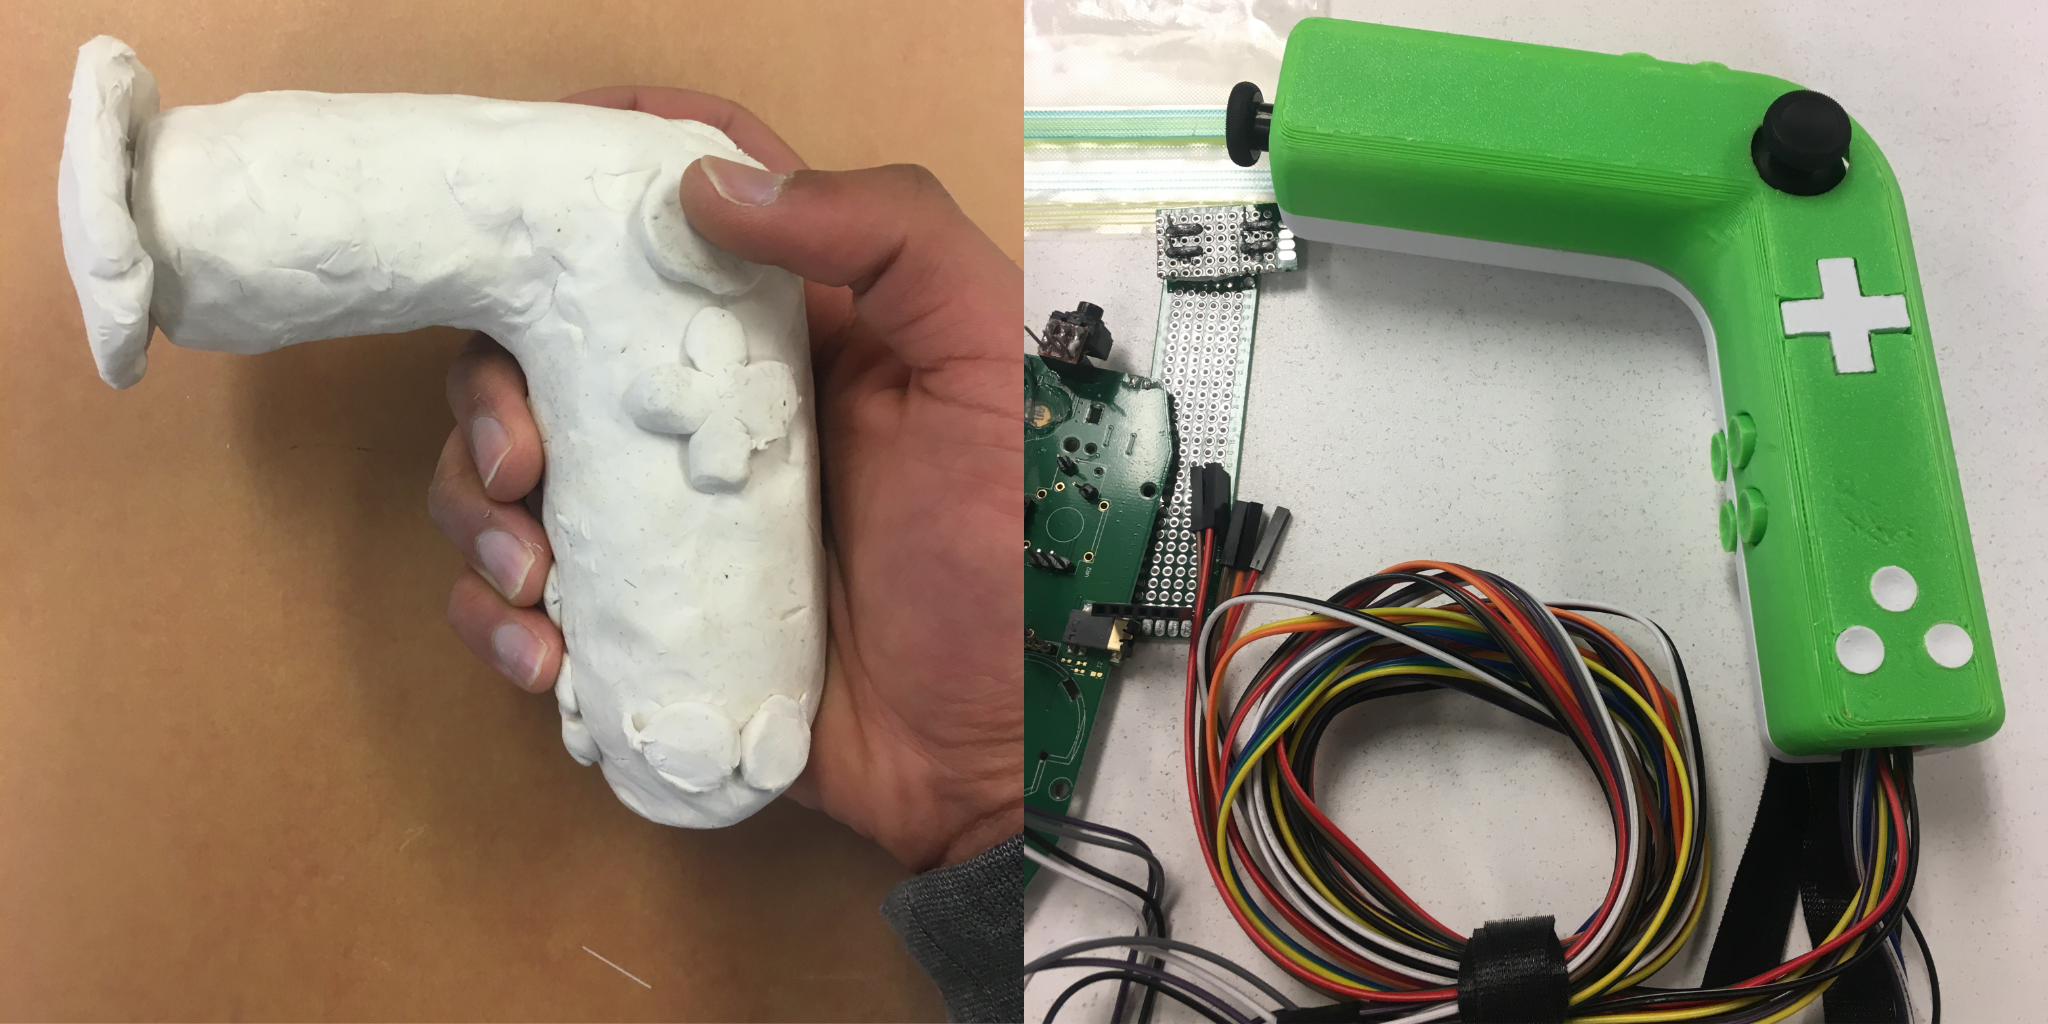
As part of the Enabling Engineering class at Northeastern University, I was tasked with developing a video game controller prototype for a client with an amputated left arm.
We developed a fully functional XBOX Controller that was specifically designed for the games he wanted to play. The shell and buttons were 3D printed and the electronics from an official controller were reused for the prototype.
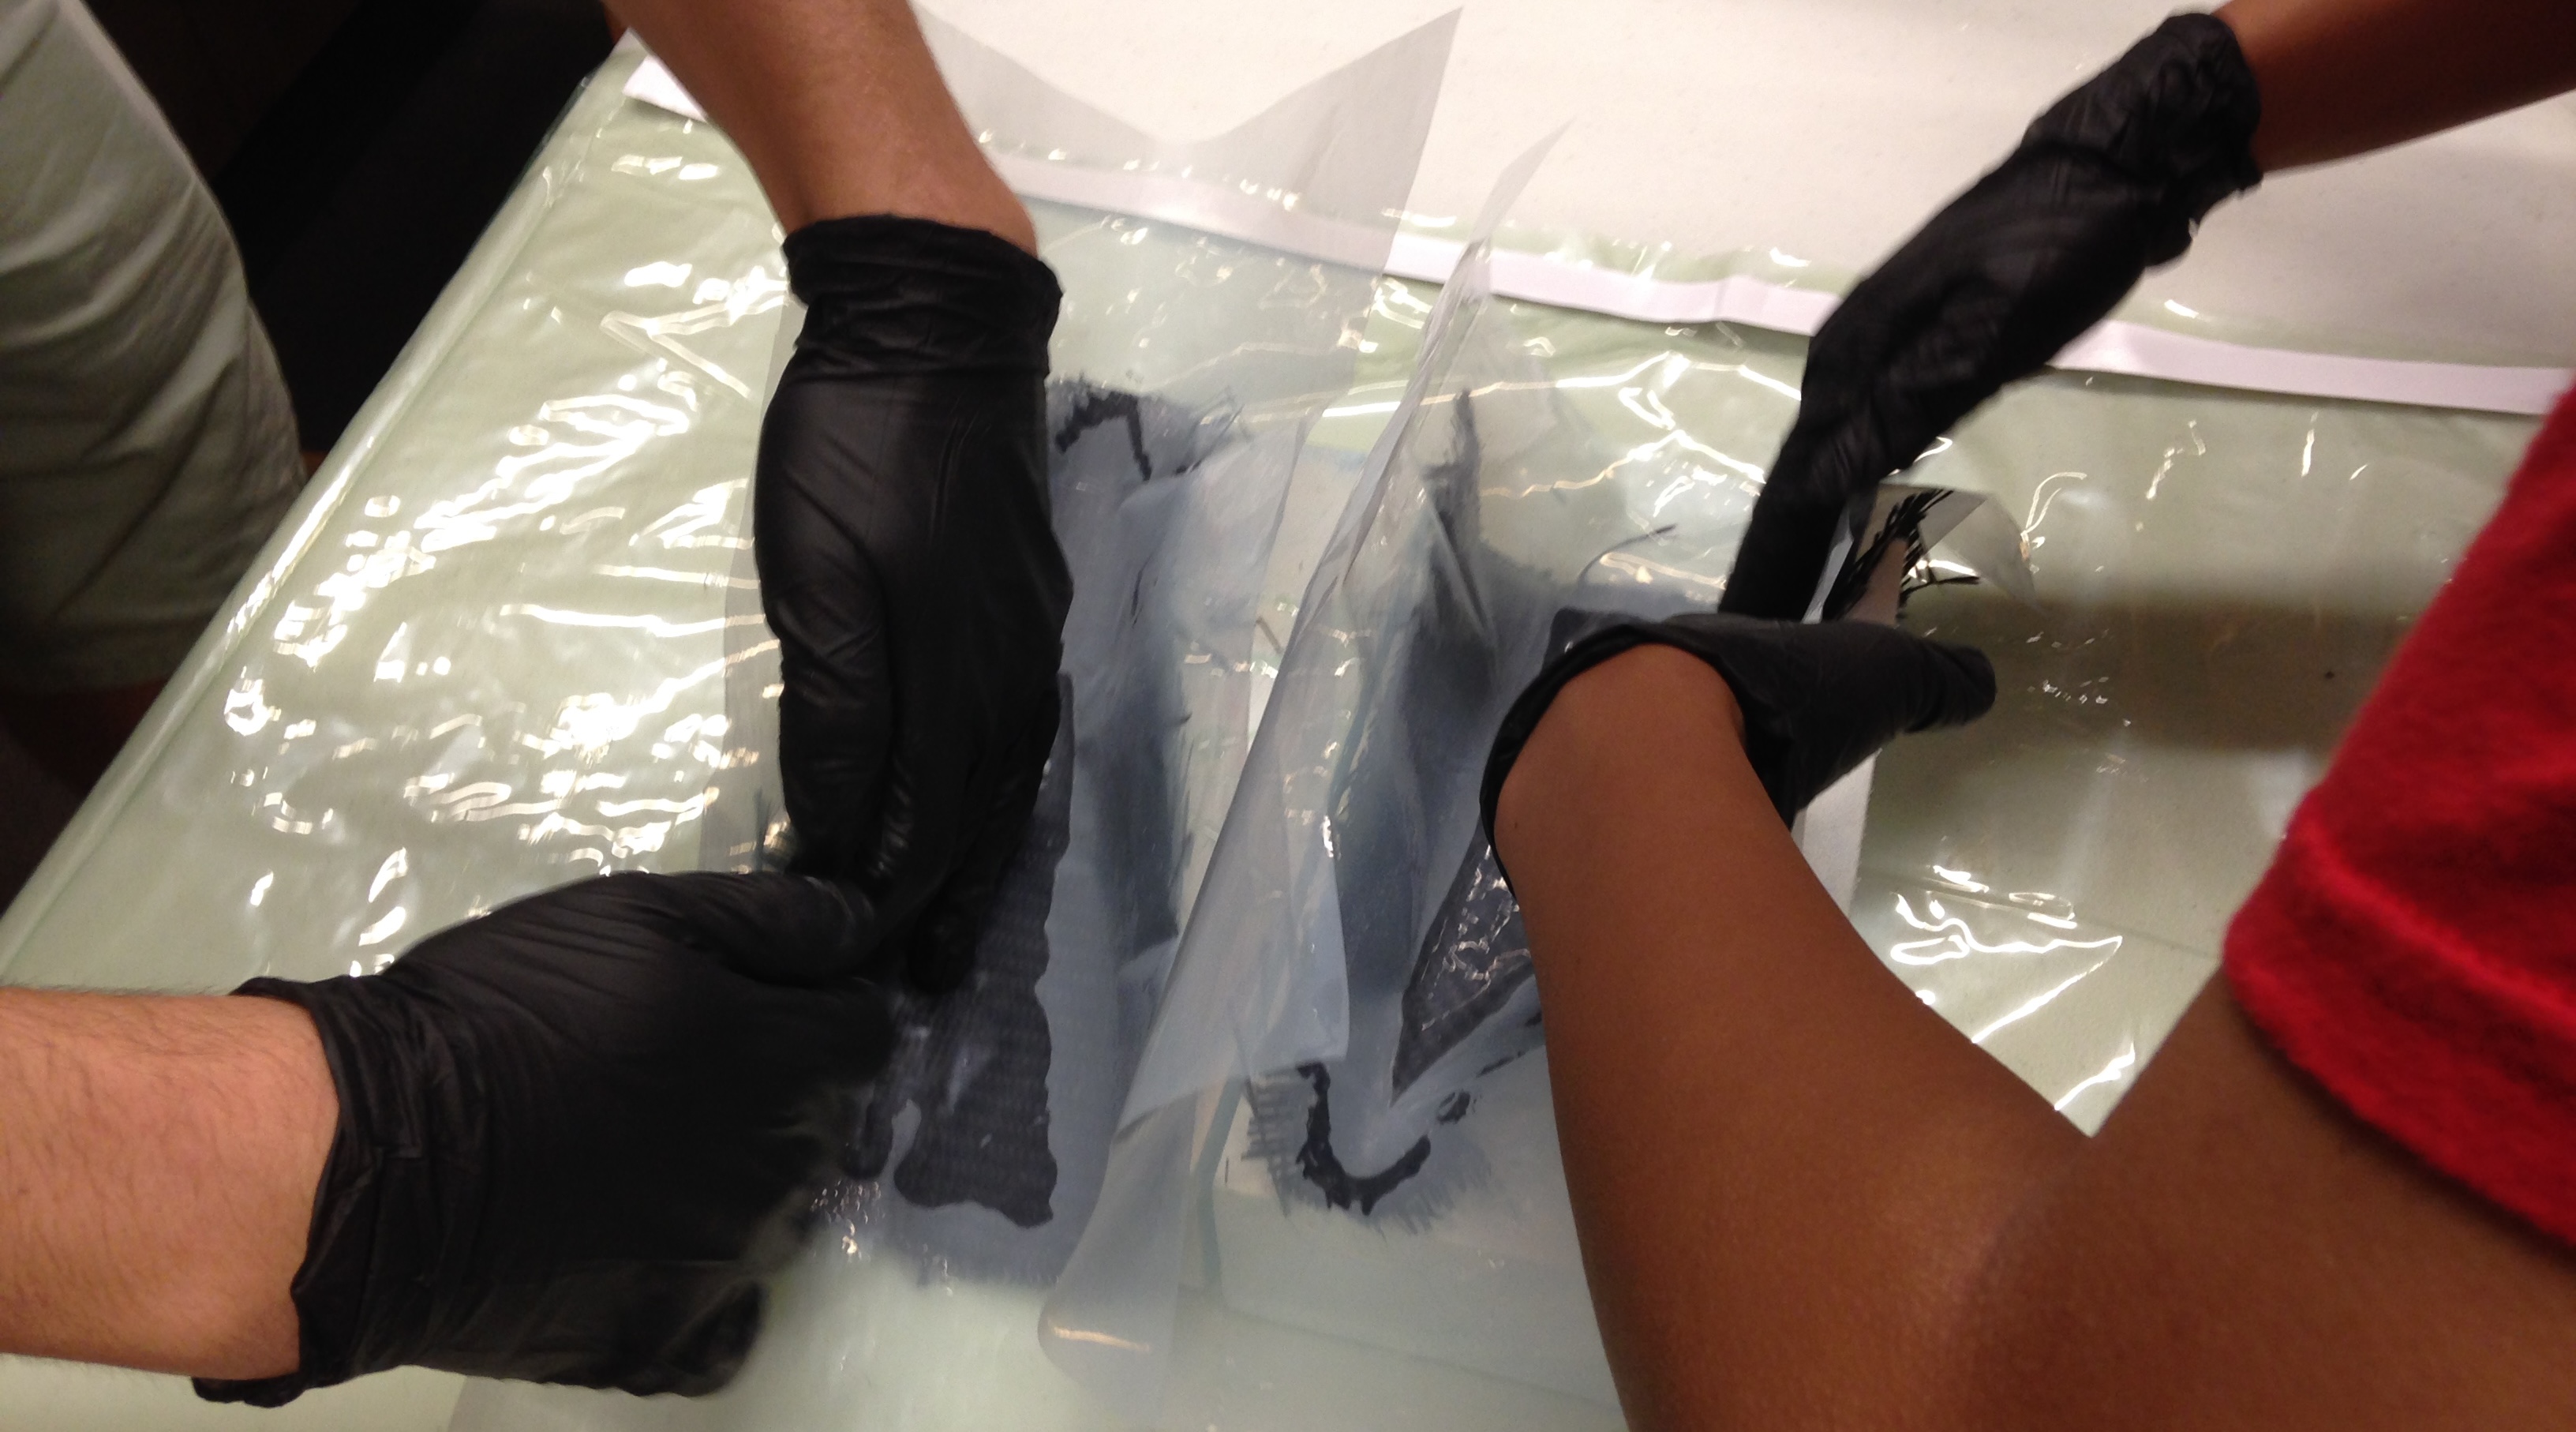
As part of the Summer STEM at Cooper Union, my team and I conducted research on carbon fiber nosecone manufacturing methods for the Cooper Union FSAE Team.
We made miniature models of various nosecone designs that were optomized for aerodynamics and ease of construction. We also developed a custom testing jig using a metal bonded strain gauge in a wheatstone bridge with an amplifier circuit to measure the live drag coefficient in a wind tunnel.
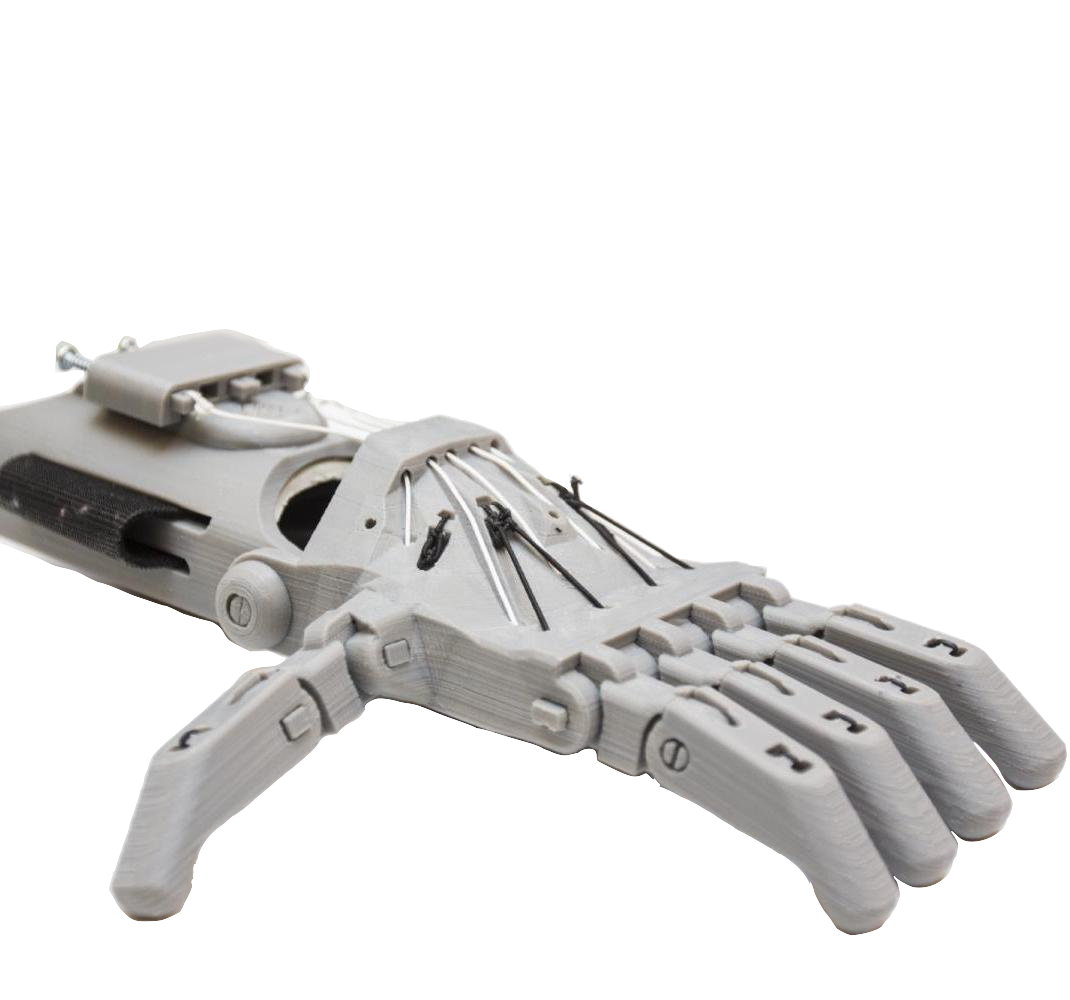
This was a project in partnership with Enabling The Future and The Bergen Makerspace to create better education material about 3D printed prosthetics. We hosted several prosthetic build sessions with high school students to build the Phoenix V2 prosthetic along with various mods for the prosthetic.